

This Chocolate Salami, made with simple shortbread cookies, rich cocoa, and butter, is a beloved classic from my Soviet childhood. It’s the exact no-bake dessert we used to whip up, and its nostalgic taste has stayed with me my entire life. It’s wonderfully simple, requires no special skills, and is a perfect treat to make with kids.
How to Make Sweet Cookie Salami
For this recipe, you don't need special ingredients or special culinary skills, because this recipe is even doable for children. All you'll need is a little time, simple ingredients, and access to a refrigerator.
From the many variations of making sweet salami, I'd like to focus on the more classic recipe. Although, if you wish, you can make sweet salami without butter, with condensed milk, from sponge cake, or using any other recipe to your taste.
Sweet Salami: Adding Variety
To make sweet cookie salami, we'll need: butter, walnuts, shortbread cookies, sugar, cocoa, and a little milk or cream.
This is just a base recipe that can be modified or supplemented to your taste.
As the main add-in in our recipe - walnuts. Instead of them, or in addition to them, you can add to such salami:
- any nuts to your taste;
- dried apricots, raisins, prunes, dried cherries, or other dried fruits;
- gummy candies, toffees, or caramels;
- pieces of white, dark, or other chocolate;
- sunflower or any other seeds;
- candied fruits or citrus zest.
Try different add-ins and get a unique taste.
The special charm of this recipe lies in the fact that sweet salami can be stored in the freezer for more than one day.
You can serve it at any convenient moment. So unexpected guests will always be able to taste delicious homemade dessert with tea, and it perfectly complements morning coffee.
Ingredients for 6 portions
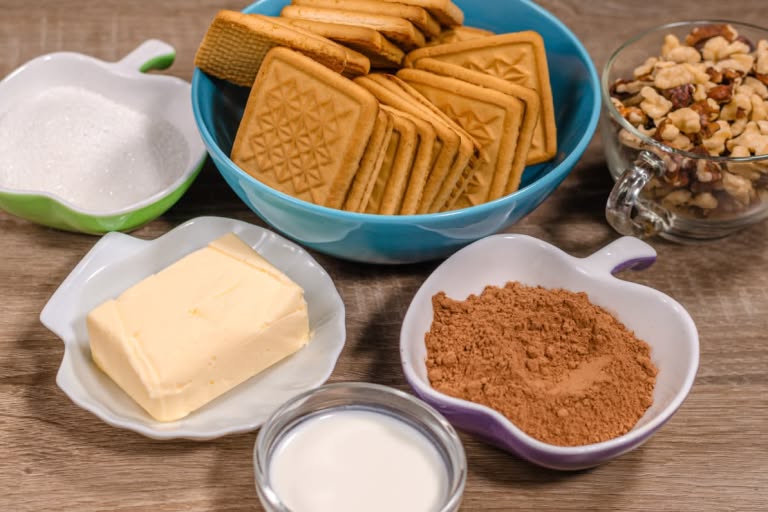
- 1 stick Unsalted butter (100 g)
- 3 tbsp Sugar
- 2 tbsp Unsweetened Cocoa powder
- 3 tbsp Milk (45 ml)
- 7 oz Shortbread cookies (like 'Yubileynoye', or use Walker's) (200 g)
- 1/2 cup Walnuts , toasted and roughly chopped
How to cook
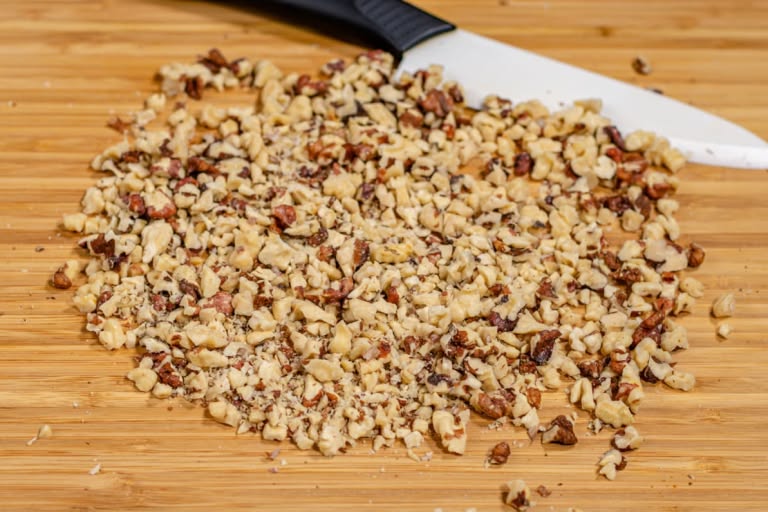
Lightly toast the walnuts in a hot skillet. Chop the nuts into fairly large pieces using a knife or blender.
Let large nut fragments remain - they will look good in the cross-section of the finished dessert.
Instead of, or in addition to, walnuts you can take any other nuts to your taste or combine several types at once.
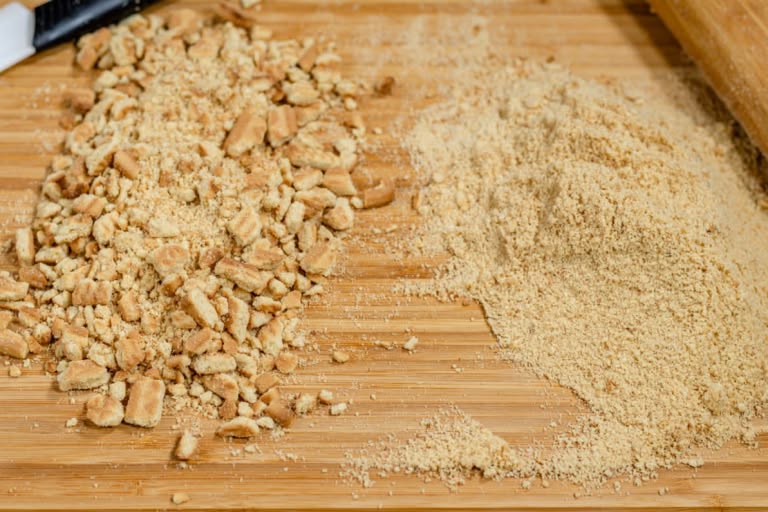
Crush half or 2/3 of the cookies into fine crumbs.
For this you can use a blender or crush the cookies with a rolling pin. For convenience, you can place the cookies in a bag and only then crush them with a rolling pin.
Crush the remaining cookies into coarse crumbs - you can do this with a knife or simply break the cookies by hand.
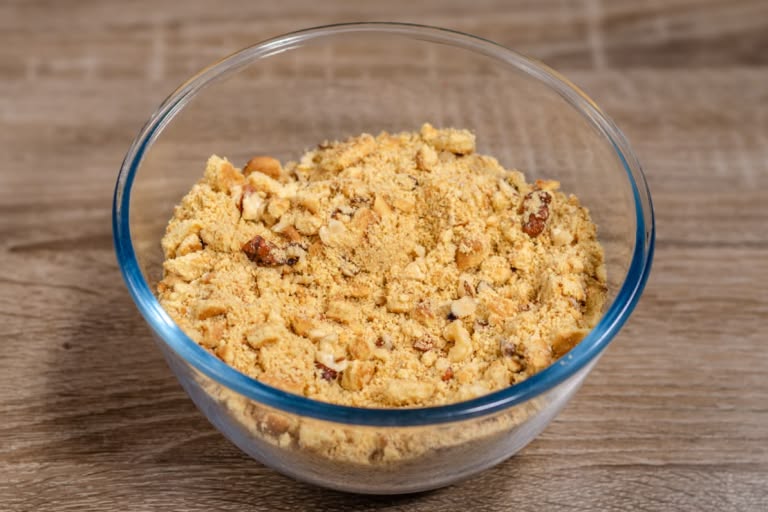
Combine the chopped nuts with the cookies and mix everything well.
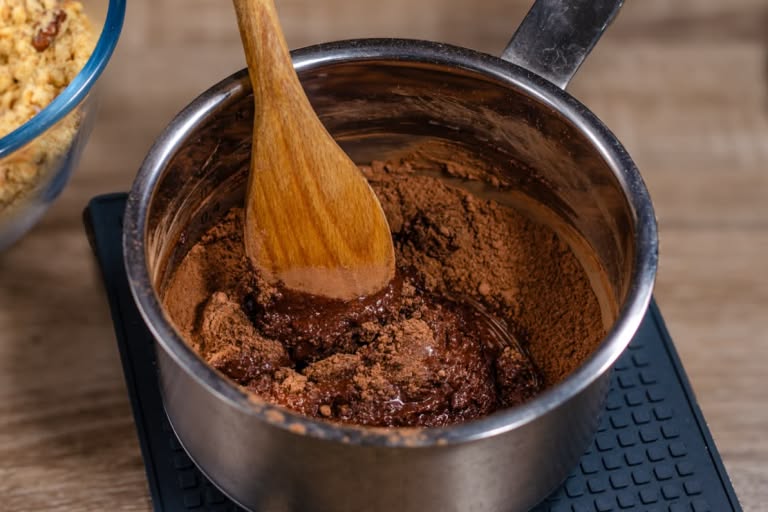
In a suitable bowl combine the sugar and cocoa. Mix everything well.
Add 3 tablespoons of milk (or half-and-half, which is similar to the 10% cream often used in Eastern Europe) to the bowl.
Mix everything well and place the bowl over low heat.

Stirring the mixture, heat it up and bring it to a boil.
At first it may seem to you that the mixture is too thick, but as it heats up the sugar will melt and the mixture will become more liquid.
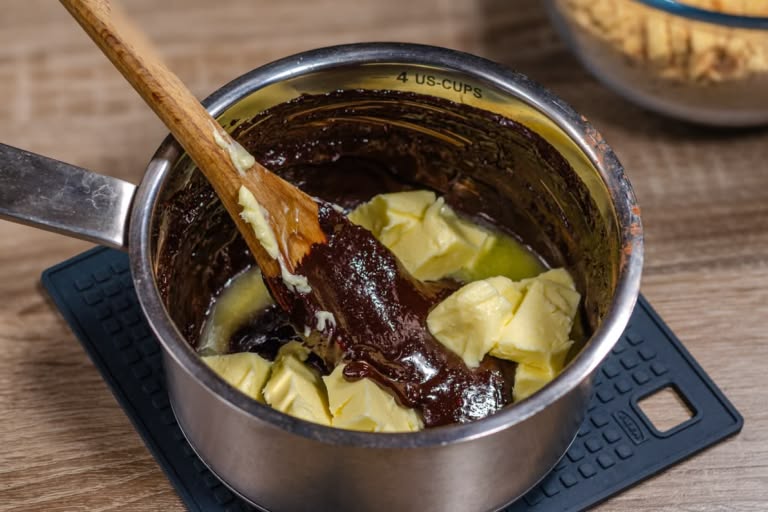
After the mixture has boiled, remove it from heat and let it cool down a little.
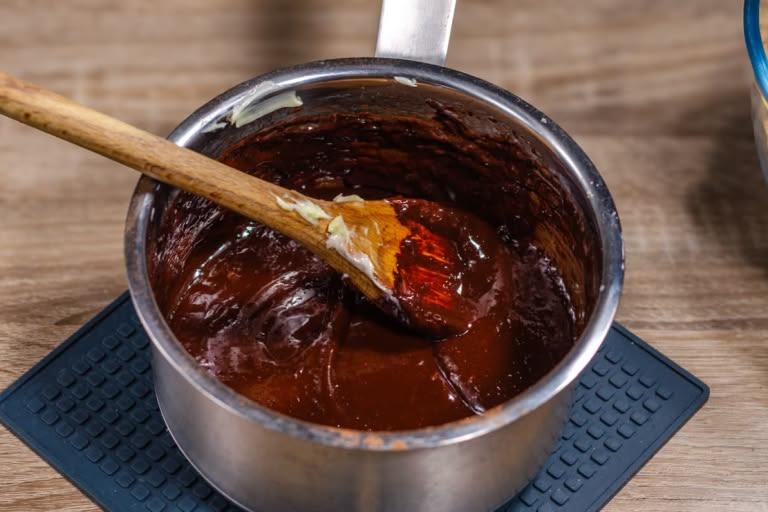
Once the mixture has cooled slightly, add the stick of room-temperature butter. Stir gently until the butter is fully melted and incorporated. The mixture should be smooth and glossy.
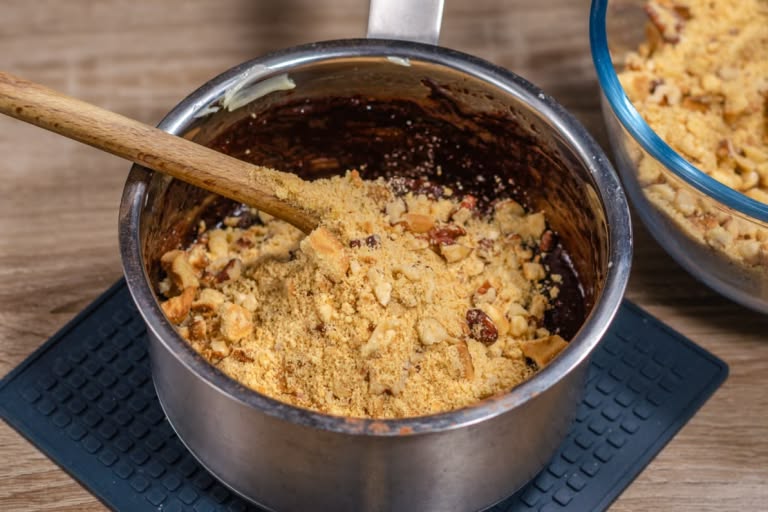
Add the nut and cookie mixture in parts. Mix everything well each time.
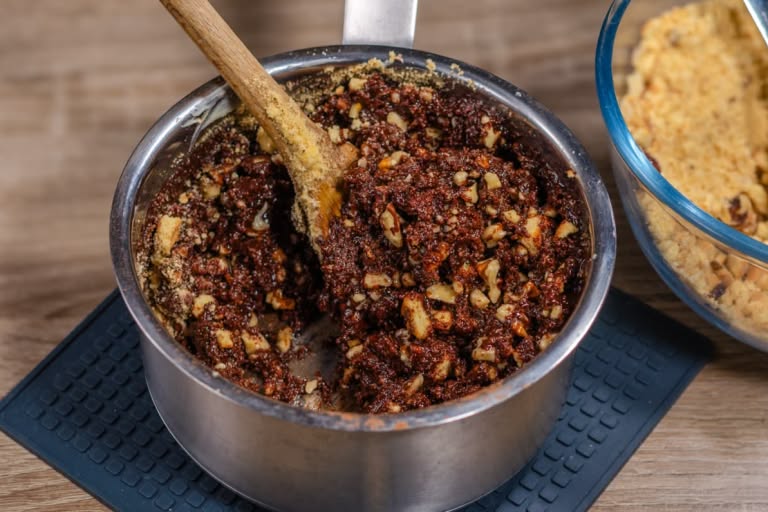
Continue until the mixture reaches a sufficiently thick consistency or until you run out of the nut and cookie mixture. Knead the mixture well.
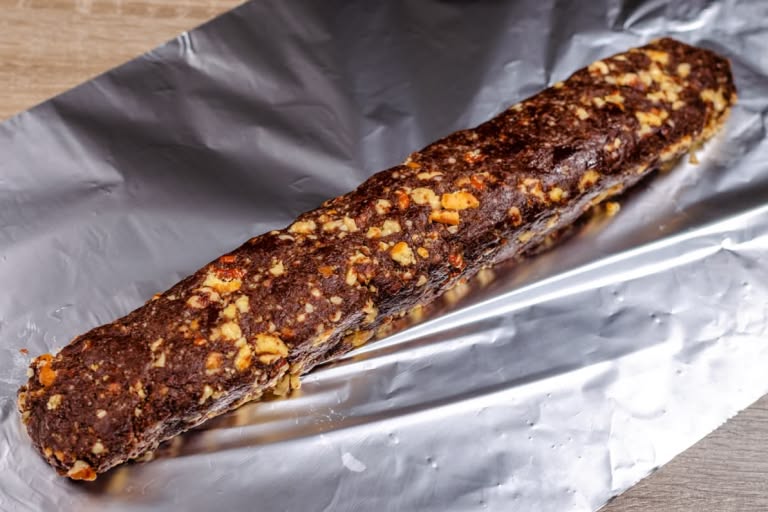
On a sheet ofaluminum foil or plastic wrap, shape the mixture into a log, about 10 inches (25 cm) long and 2 inches (5 cm) in diameter.
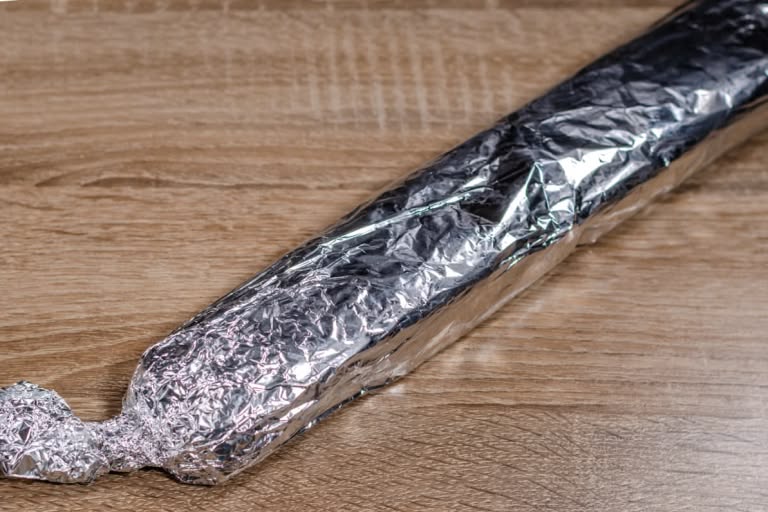
Tightly roll the mixture into a log using the foil or a plastic wrap, pressing firmly to compact it and remove any air pockets. Twist the ends like a candy wrapper to seal securely. A compact, dense roll is the key to clean, beautiful slices. Place the wrapped log in the freezer for at least 2-3 hours, or until completely firm.
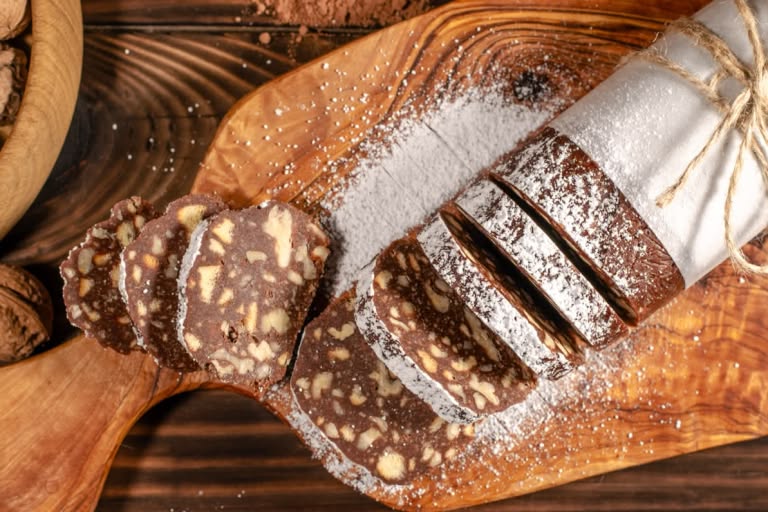
Remove the chocolate salami from the freezer and let it rest at room temperature for 10-15 minutes to make slicing easier. Unwrap and cut into slices to serve. Enjoy this taste of my childhood!
Recipe Tips
This recipe is very dear to my heart, and I want you to have the best experience making it! Here are a few tips and answers to common questions that might come up as you recreate this little taste of my childhood.
What are the best cookies to use?
The best cookies are simple, plain shortbread or tea biscuits that aren't overly sweet. In the US, great options include Walker's Shortbread, Lorna Doone, or even plain vanilla wafers. You want a cookie that provides texture without competing with the rich chocolate flavor.
Do I have to toast the walnuts?
You don't have to, but I highly recommend it! Toasting nuts for just a few minutes in a dry skillet brings out their natural oils and deepens their flavor, adding a wonderful complexity to the salami.
My mixture seems too dry or too wet. What did I do wrong?
You didn't do anything wrong! The final consistency can depend on the exact type of cookie you use.
- If it's too dry and crumbly, add a little more milk, one teaspoon at a time, until it comes together.
- If it's too wet and won't hold its shape, simply add more of the fine cookie crumbs until you get a thick, workable "dough."
Can I make this recipe vegan or dairy-free?
Absolutely! You can easily substitute the unsalted butter with a high-quality plant-based butter stick and use your favorite plant-based milk (like oat, almond, or soy milk) instead of dairy milk.
How should I store the Chocolate Salami?
This is one of the best parts—it stores beautifully!
- In the refrigerator: Tightly wrapped in plastic wrap, it will last for up to a week.
- In the freezer: This is my preferred method! Tightly wrapped in plastic wrap and then a layer of foil, it will keep for up to 3 months. This way, you always have a delicious homemade treat ready for unexpected guests or a sudden craving!
Can I use other nuts or add-ins?
Yes, please do! This recipe is a wonderful base for your creativity. As I mentioned, you can add dried fruits like apricots or cherries, other nuts like pistachios or almonds, or even mini marshmallows. Just be sure to keep the total volume of add-ins roughly the same so the chocolate base can bind everything together.
Leave a Comment