

Back home in Ukraine, nalysnyky just means stuffed crepes — could be meat, mushrooms, cabbage, whatever you have. But sweet cheese is the version everyone actually wants. These are those.
Thin crepes, vanilla farmer's cheese filling, folded up and fried in butter until they're crispy outside and the cheese goes all soft and warm in the middle. My whole family is obsessed with them. I usually make a huge batch and freeze most of it — on busy mornings I just pull a few out, throw them in a pan, and breakfast is done. They also go really well baked in the oven with sour cream, or with caramel and chocolate if you're feeling like dessert. Either way they never last long.
My Secrets for Authentic Ukrainian Nalysnyky
The thing most people don't know about nalysnyky is that you cook them twice. You make the crepes, fill them, roll them up — and then you fry the whole thing again in butter. That second fry is everything. The outside goes golden and crispy while the cheese inside melts. That's what makes them nalysnyky and not just a crepe with cheese in it.
Finding the Right Cheese
The hardest part of this recipe is finding the right cheese. In Ukraine we use tvorog — very firm, dry, and crumbly. If your cheese has too much moisture in it, the filling turns soupy the second it hits the hot pan and starts leaking right out of the blintz.
Since tvorog isn't always easy to find, here is what I recommend from my own kitchen experience:
- Always look for "Dry-Curd" Farmer's Cheese: This is the absolute best match for Ukrainian tvorog. It’s crumbly and holds its shape perfectly. If you have a local any Eastern European grocery store nearby, they will definitely have it. Can't find it anywhere? You can actually make your own tvorog at home — it's easier than it sounds.
- If you end up with wet cheese: Sometimes I can only find regular, creamy farmer's cheese or ricotta at my local store. Because they hold so much moisture, I always wrap the cheese in a clean kitchen towel or cheesecloth and wring it out over the sink. You really want to squeeze out as much water as physically possible before adding the yolks and sugar. If you skip this step, the filling will basically turn to soup when it hits the hot pan.
- Can you use cottage cheese? A lot of people ask me if they can just use standard grocery store cottage cheese. Honestly, I really don't recommend it. No matter how much you try to drain it, the curds are just too salty and hold way too much water for a sweet dessert blintz. It just doesn't taste right.
Dry-curd farmer's cheese is also what you need for Lazy Vareniki — so if you're buying a big pack anyway, it's worth making both the same day.
Ingredients for 8 portions
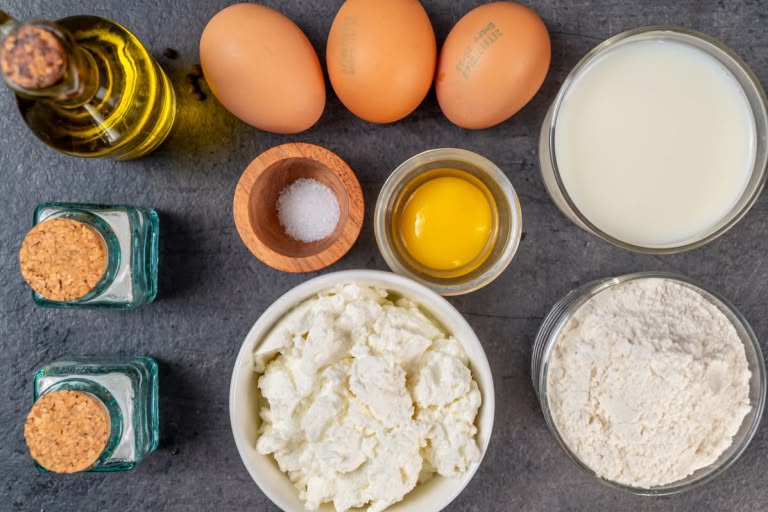
For the crepes
- 2 cup Whole Milk
- 3 large Eggs
- 1 cup All-purpose flour
- 1 tbsp Sugar
- ½ tsp Salt
- 3 tbsp Vegetable oil
For the sweet cheese filling
- 20 oz Farmer's cheese
- 2 large Egg yolks
- 2 tbsp Sugar
- 1 tsp Vanilla extract
How to make nalysnyky

Let's start with the crepe batter. In a deep bowl, whisk together the eggs, salt, sugar, and exactly half of the milk until smooth.
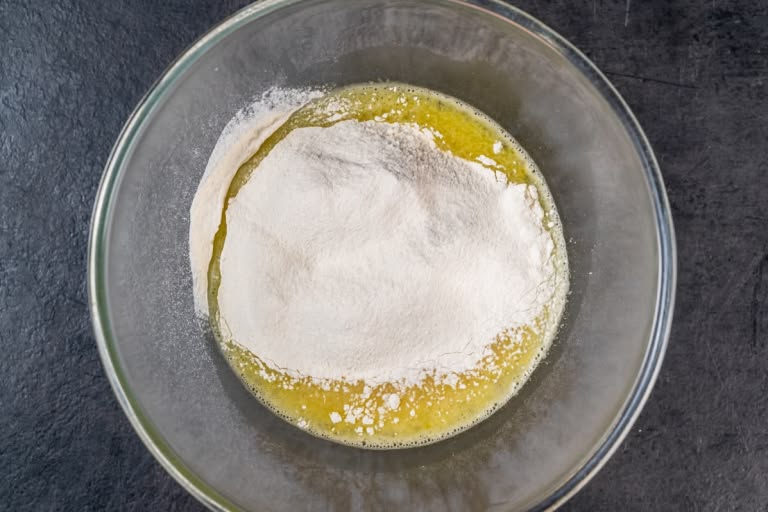
Sift in the flour. Whisk everything thoroughly until you have a smooth batter with absolutely no lumps.

Pour in the rest of the milk and give it a stir. Finally, mix in the vegetable oil. Let the batter sit at room temperature for about 10 minutes to rest.
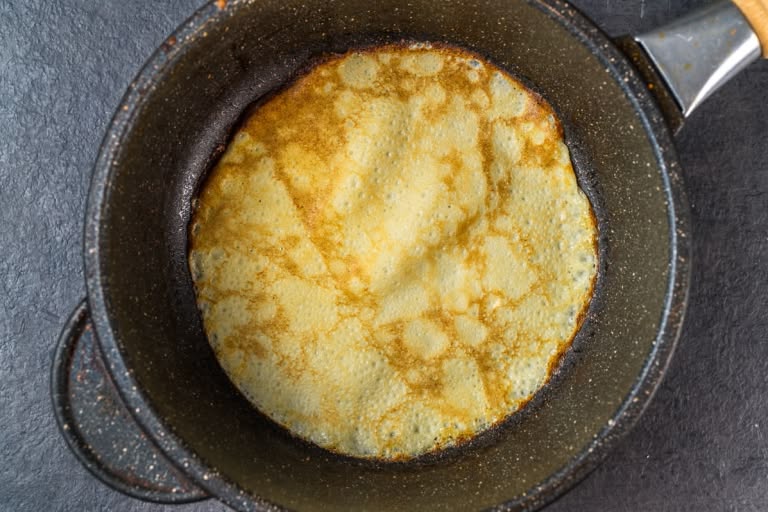
Time to cook crepes! Heat a skillet over medium-high heat and brush it lightly with oil. Pour in just enough batter to thinly coat the bottom, swirling the pan to spread it. Cook each crepe until lightly golden, then set them aside.
This batter gives me about 18 crepes in a 8-inch (20 cm) skillet, but it really depends on how thin you pour them. Mine are pretty thin at this point — it took some practice to get there, so don't worry if your first few come out thicker.
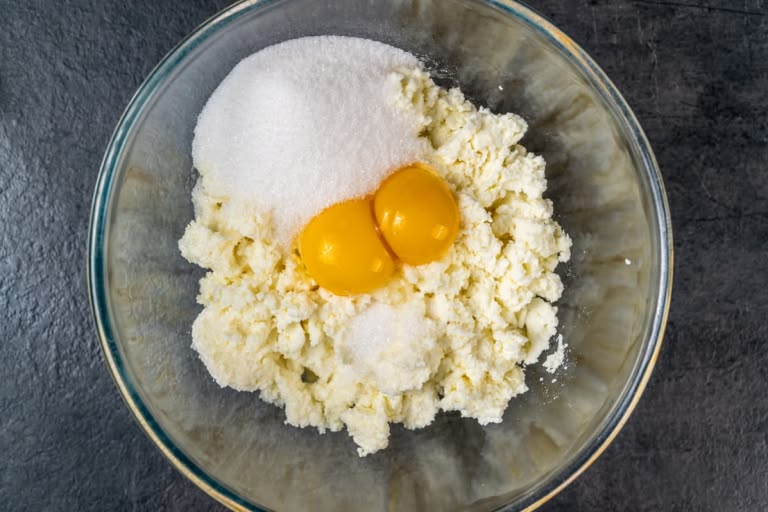
While the crepes cool, make the sweet cheese filling. In a separate bowl, combine the farmer’s cheese, egg yolks, sugar, and vanilla.
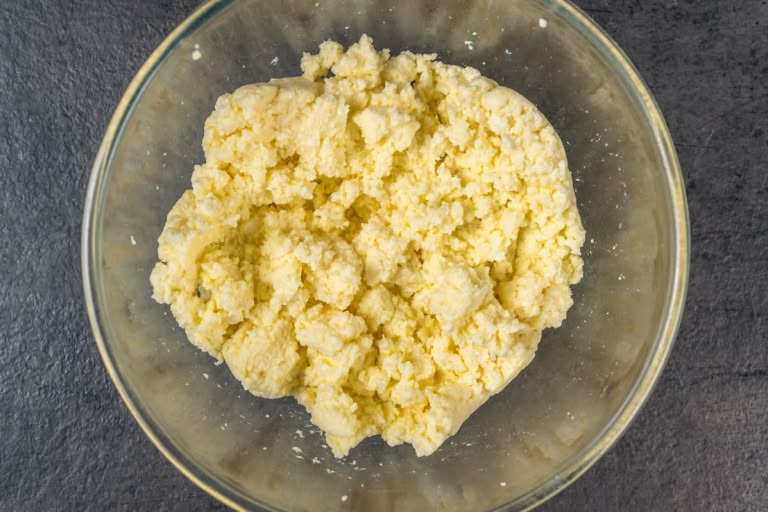
Mix everything together really well and give it a taste.
I prefer a thin layer of cheese inside my blintzes. If you love a thick, hearty filling, I highly recommend doubling or tripling the cheese mixture ingredients!

Lay a cooked crepe flat. You can either place a 2 to 3 teaspoons of the cheese filling just along the bottom edge, or spread it in a thin, even layer all over the crepe.

To keep the filling from leaking out when you fry them later, slightly tuck the left and right edges of the crepe inward over the cheese.

Now, roll the crepe up tightly from the bottom to form a neat little envelope. Repeat this with the rest of your crepes.
Make-ahead tip: At this point, you have a pile of ready-to-cook blintzes. I usually portion them out into containers and pop them right into the freezer for later.
When you're ready to eat, melt a little butter (or vegetable oil) in a skillet over low heat. Add the blintzes and pan-fry them. I recommend covering the pan with a lid so the cheese center gets nice and warm. Fry until they are crispy and golden brown on all sides.

Serve them warm! They are absolutely delicious with a dollop of sour cream, honey, or your favorite fruit preserves. And if you're putting together a full Ukrainian spread, Ukrainian Borscht is the obvious next dish. Enjoy!
Recipe Tips
Make-Ahead & Freezing
I almost always make a double batch and freeze the rest. They keep for up to 3 months — just portion them out in a single layer, freeze until solid, then transfer to a zip-lock bag. When you want some, straight from the freezer into a buttered pan, lid on, low heat. No thawing needed.
Leave a Comment