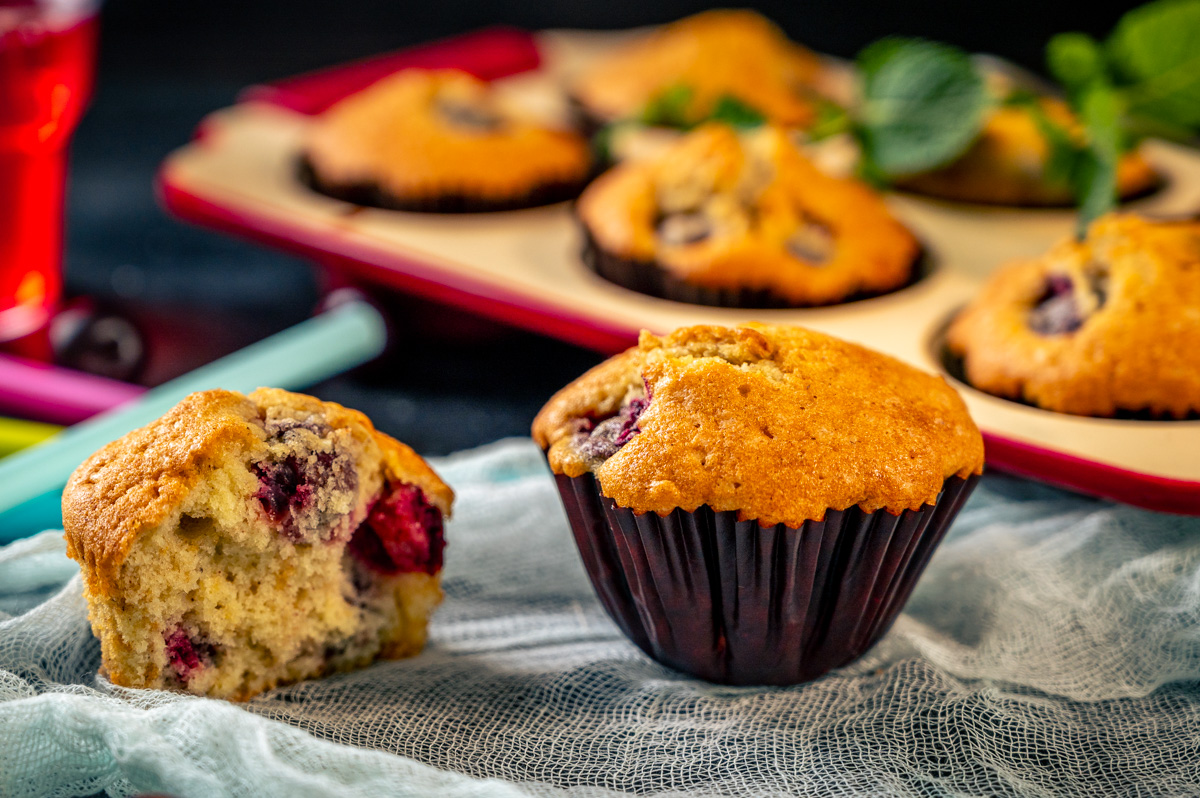

Let's whip up some aromatic muffins with fresh cherries. Cherry muffins turn out incredibly delicious, tender, fluffy, moderately sweet, with a rich tartness from the cherries. These muffins can be made from fresh, frozen, canned cherries, or any other berries.
I'm confident that this easy, simple, and quick recipe for cherry muffins will earn a special place in your recipe collection.
Ingredients for 4 portions
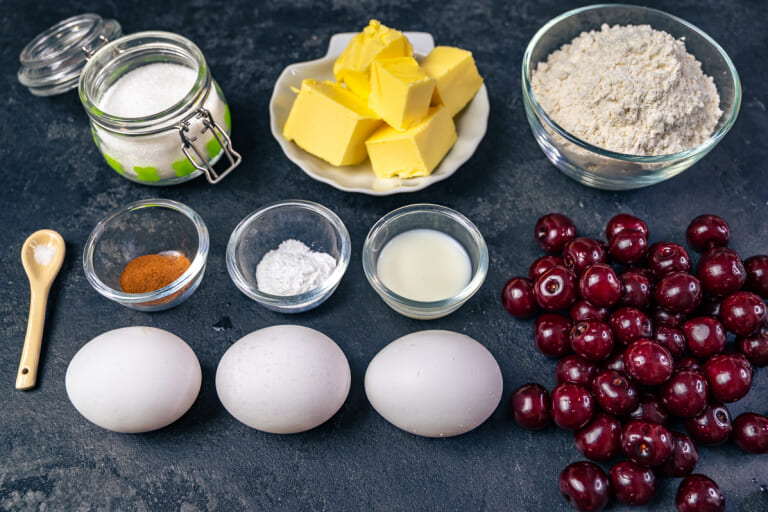
- 2 cup fresh or frozen Cherries with pits (250 g)
- 3 XL Eggs
- 1 stick Unsalted butter (125 g)
- 1¼ cup All-purpose flour (150 g)
- 2 tbsp Whole Milk (30 ml)
- 1/2 cup Granulated Sugar (125 g)
- 1 tsp Ground Cinnamon
- 1 pinch Salt
- 1 tsp Cornstarch
- 1 tsp Baking powder
Fresh Cherry Muffins Recipe
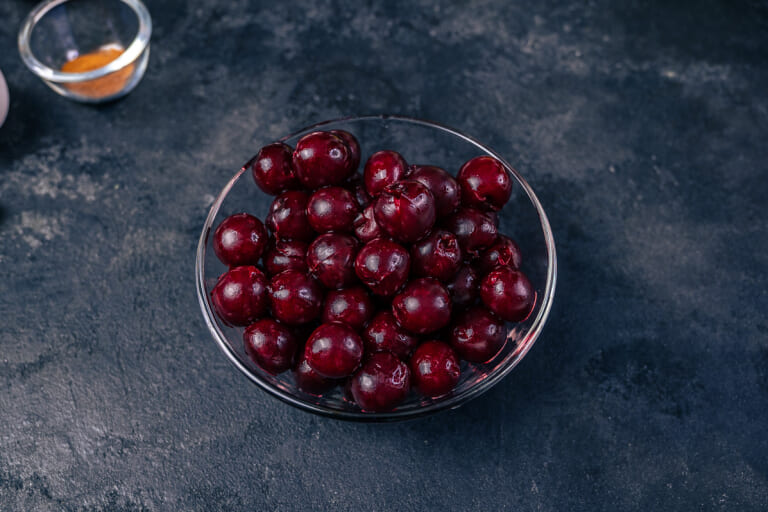
Remove the pits from the cherries. You can do this using a special cherry pitter, a hairpin, or a safety pin. Personally, I remove cherry pits with a sushi stick. You can adjust the amount of berries to your taste; for this recipe, I use 1 1/3 to 2 cups (200 to 300 g) of whole cherries with pits.
If you're using frozen cherries, you need to let them thaw completely first, then drain them in a colander and let the excess liquid drip off. You can also use cherries in their own juice for these muffins, but you'll need to squeeze out the extra juice from those as well.
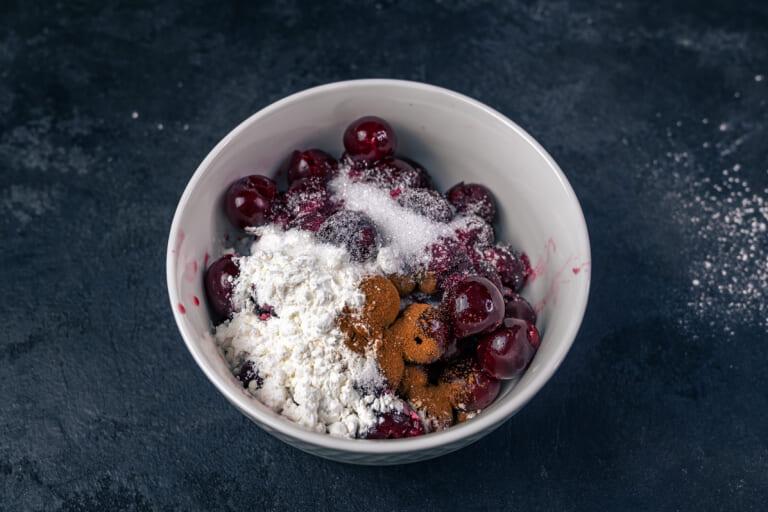
Add 1 heaping teaspoon of cornstarch, 1 tablespoon of sugar, and 1 teaspoon of ground cinnamon to the cherries.
The cornstarch will thicken the cherry juice, preventing the muffins from becoming too moist. If you don't like cinnamon, you can skip it. In that case, I recommend adding a bit of vanilla sugar or extract to the batter.
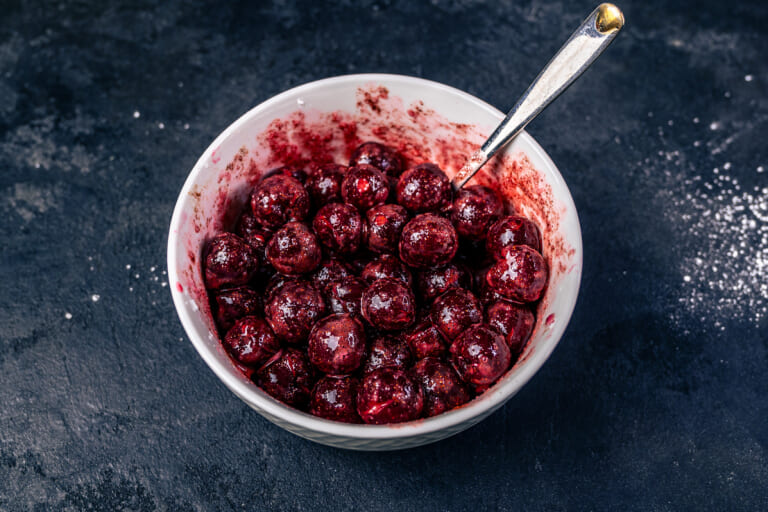
Mix everything well.
If you prefer, you can simply pit the cherries and gently squeeze out any excess juice before adding them to the batter.
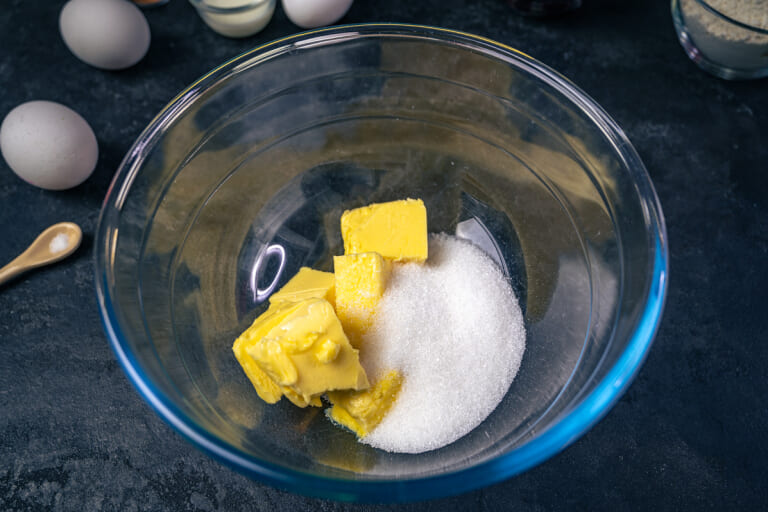
Preheat the oven to 350°F (180°C) on the conventional "top and bottom heat" setting.
Combine softened butter with salt and the remaining sugar. Beat this mixture with an electric mixer or whisk it vigorously with a fork until it turns pale and fluffy.
It's best to take the butter out of the refrigerator in advance so it has time to soften. If you forgot to do this, you can warm it slightly in the microwave.
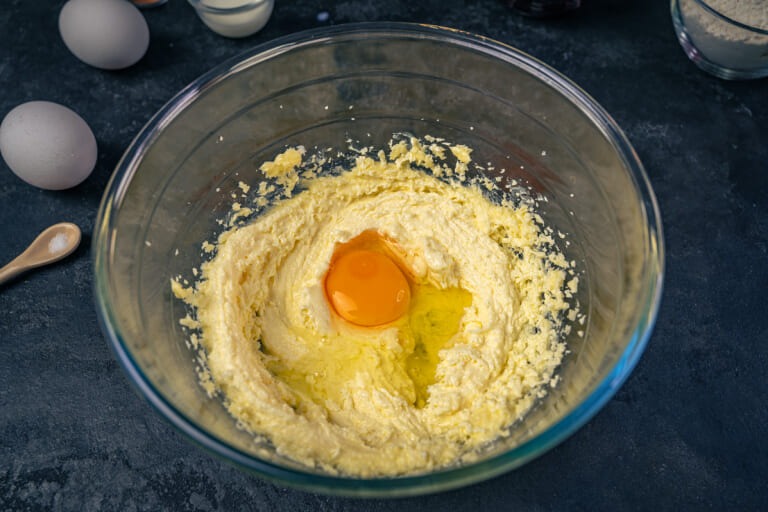
Add 3 eggs, one at a time. Crack in an egg, beat the mixture until smooth and well combined, then add the next egg. Repeat this process until all 3 eggs are incorporated.
This method of adding eggs one by one helps create a smoother batter and ensures everything is evenly mixed. Take your time with this step - it's key to getting that perfect muffin texture!
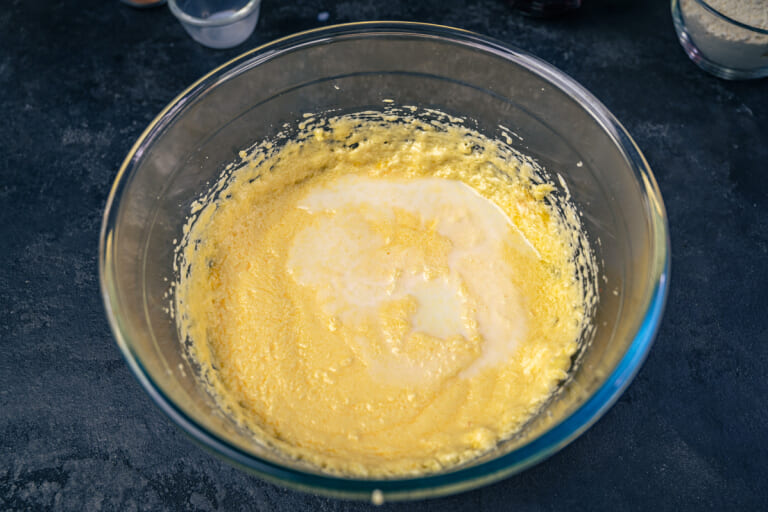
Add 2 tablespoons of milk to the mixture. If you prefer, you can replace the milk with cream. Mix everything again until smooth.
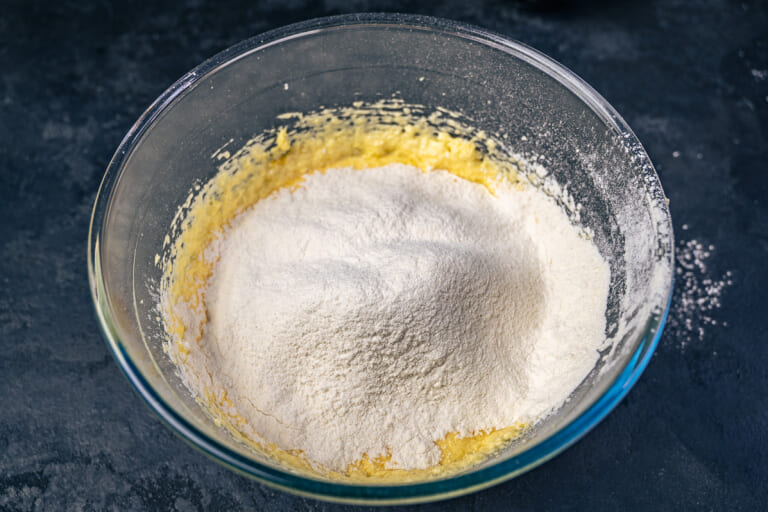
Add sifted flour and baking powder.
You can substitute baking powder with baking soda: use 1/2 teaspoon of baking soda and 1/2 teaspoon of vinegar or lemon juice.
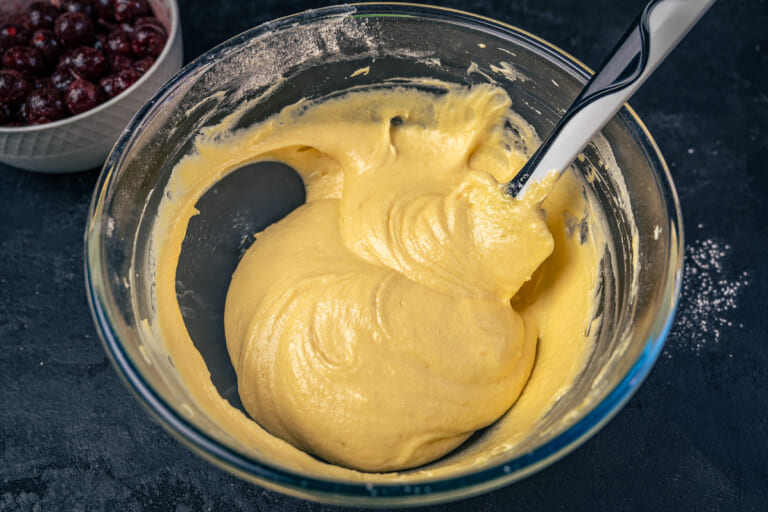
Gently mix the dry ingredients with the wet mixture using a mixer on low speed or a spatula until smooth and uniform. The finished batter will have a beautiful sheen.
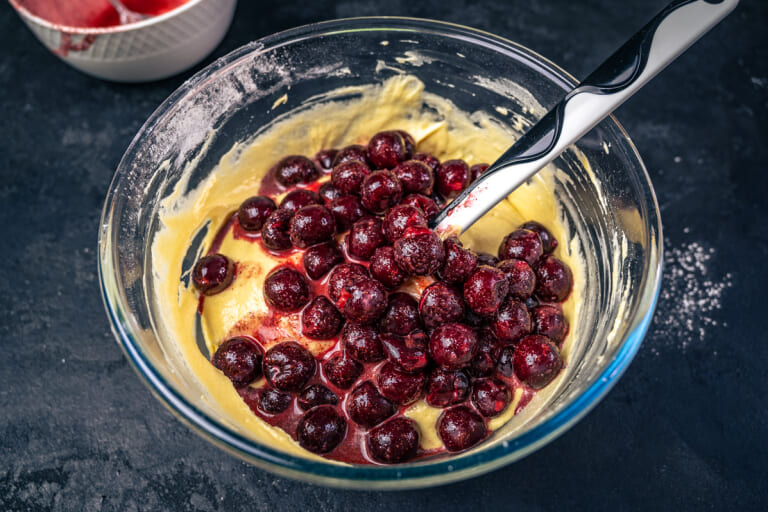
Add the cherries to the batter along with their juice. If the cherries have released too much liquid, it's better to drain it off.
If you prefer, you can layer the cherries into the muffin cups instead of mixing them into the batter when filling the cups.
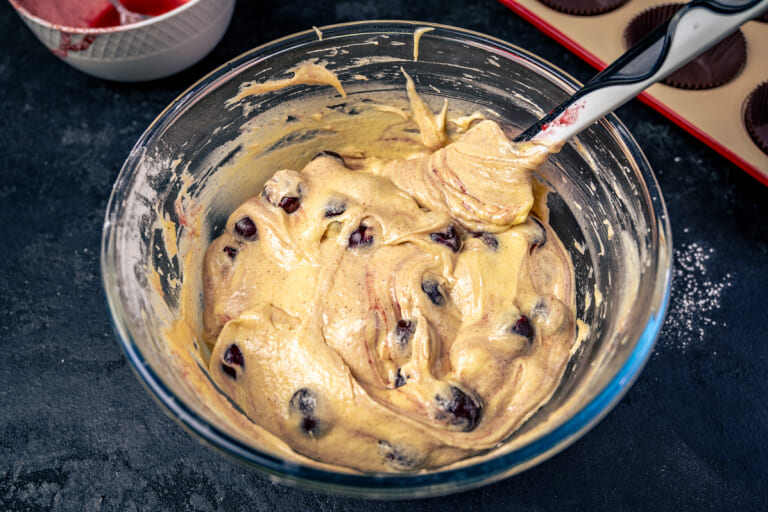
Mix the muffin batter with the cherries well.
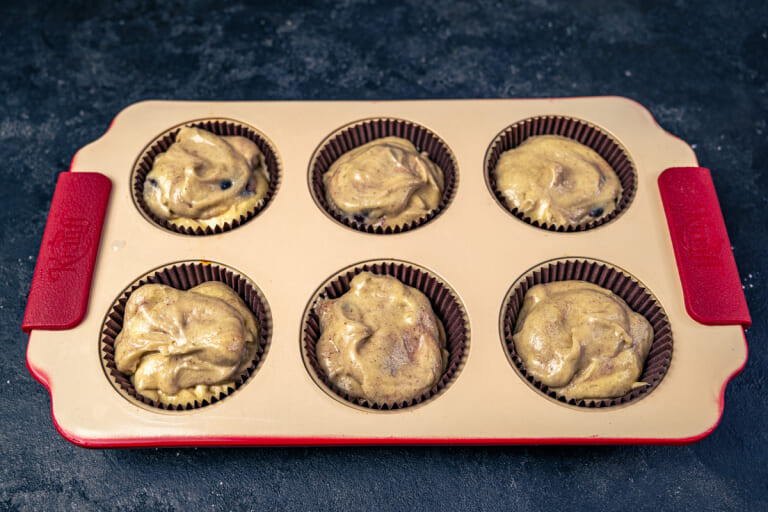
Line the muffin tin with paper liners or grease it with butter. Fill each cup 1/3 to 1/4 full, trying to distribute the berries evenly. This recipe should yield about 12 muffins. Unlike raisin muffins, these muffins don't rise as much, so even if you fill the cups a bit more, they'll still fit in the tin.
I've tested this recipe using both metal and silicone muffin pans, and I'm happy to report that the baking time was the same for both. So use whichever you have on hand or prefer.
If desired, you can sprinkle a mixture of sugar and cinnamon on top of the muffins before baking.
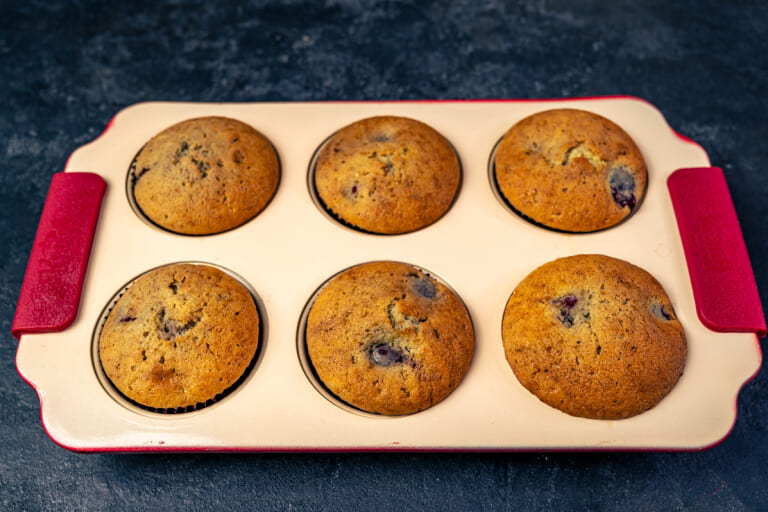
Place the cherry muffins in the preheated oven at 350°F (180°C) and bake for 25-30 minutes. You can check if they're done using a toothpick: if it comes out clean when inserted into a muffin, they're ready.
Depending on the specifics of your oven, the temperature and baking time may vary.
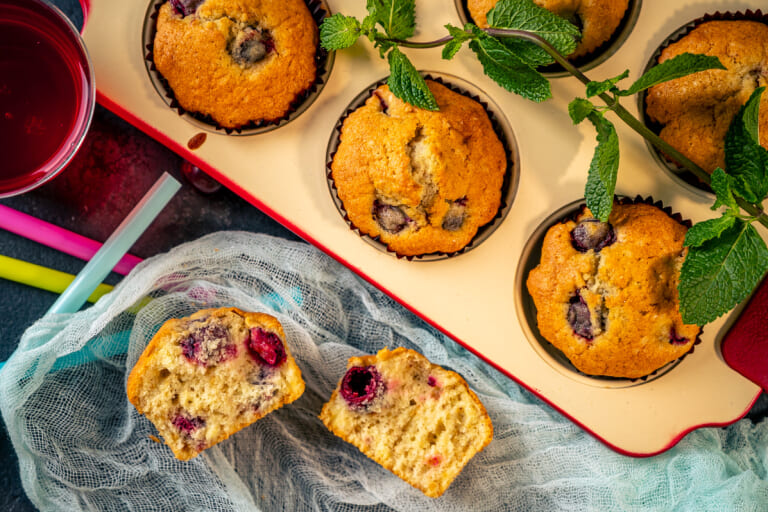
Remove the finished muffins from the tin, let them cool, and serve with tea, coffee, or your favorite beverage. You can decorate these baked goods with powdered sugar.
On the second day, the cherry muffins become even tastier and more aromatic.
Recipe Tips
How to Store and Freeze
- For storage, I recommend keeping these muffins in an airtight container. This helps maintain their moisture and prevents them from drying out for 2-3 days.
- For longer-term storage, place the cooled muffins in a freezer bag and put them in the freezer. These muffins can be stored for up to 2-3 months.
Leave a Comment