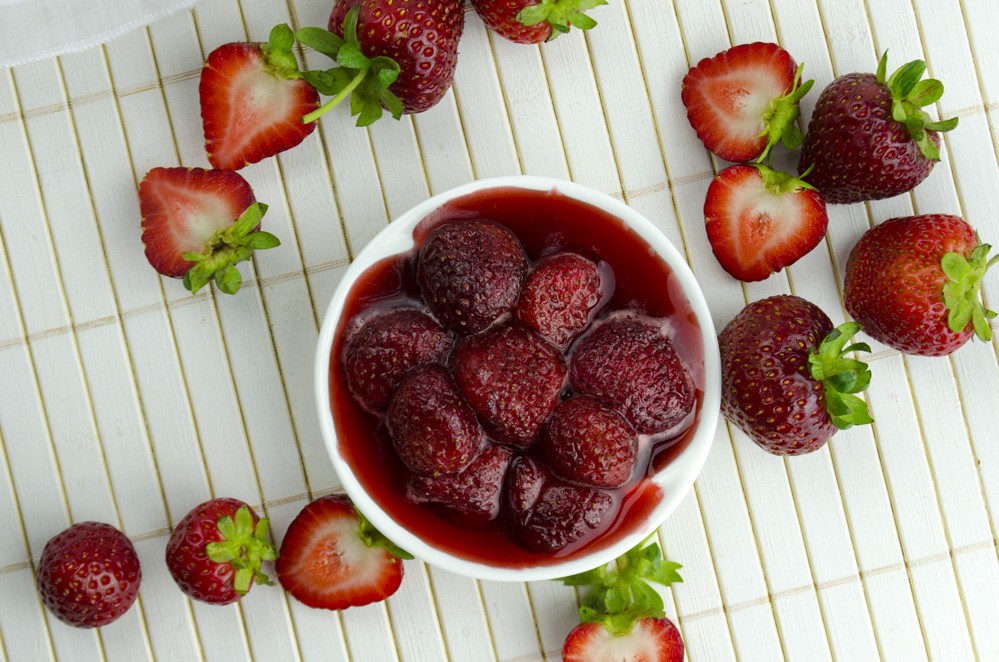

This is a classic, old-fashioned strawberry jam recipe made entirely without any added pectin. Instead of commercial gelling agents, I use traditional technique (like my parents do) that keeps the strawberries beautifully whole while creating a naturally thick, jewel-toned syrup. It requires more patience than modern, quick-set methods, but the reward is a jam with an incredibly pure and intense strawberry flavor. This step-by-step guide will show you exactly how to achieve that perfect no-pectin set. Let's begin!
Why This Recipe Works Without Pectin
You might be wondering how jam can set with just two ingredients. The secret lies in chemistry and tradition. Strawberries naturally contain their own gelling agent, called pectin. By macerating the berries in sugar and then slowly simmering the syrup, we accomplish two critical things:
- It concentrates the natural pectin: The long, slow simmer evaporates water, concentrating the fruit's own pectin to the point where it can create a gel.
- It achieves the right sugar concentration: A high sugar concentration (around 65%) is crucial not only for preservation but also for helping the pectin to set correctly.
This method allows the true flavor of the strawberries to shine through, creating a superior-tasting product for those willing to embrace this classic culinary art.
Ingredients for 10 portions
- 2 lb Strawberry hulled (1000 g)
- 4 1/2 cup Sugar (900 g)
How to make
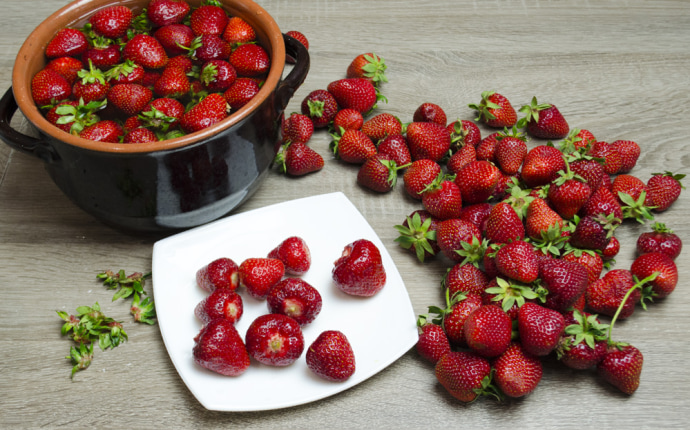
Wash strawberries several times under running water. It is important to make berries clean.
Remove the stems. Throw away all spoiled berries.
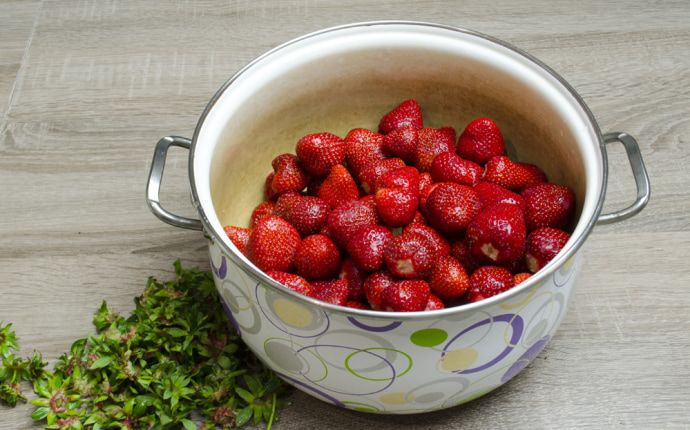
Place washed berries in a suitable container.
For this purpose, best of all to use a large bowl or a wide low-edge pot. The larger container, the better it is to use.
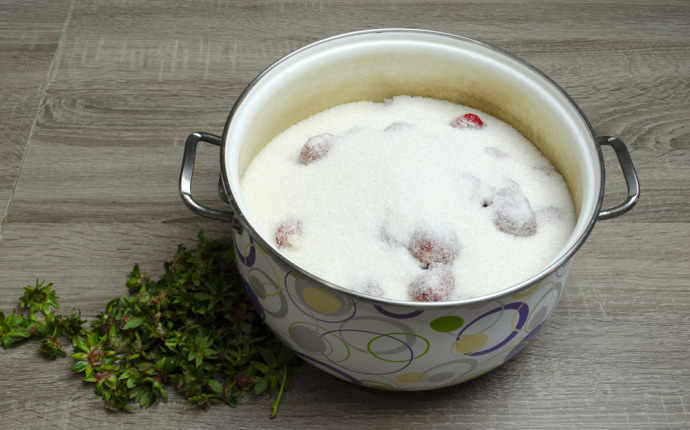
Add sugar to berries. Lay out berries in a pot mixed with sugar.
Place the berries into the refrigerator for 8-12 hours to make them to give juice.
Depending on the variety of strawberries you are using, usually, this amount of time if sufficient.
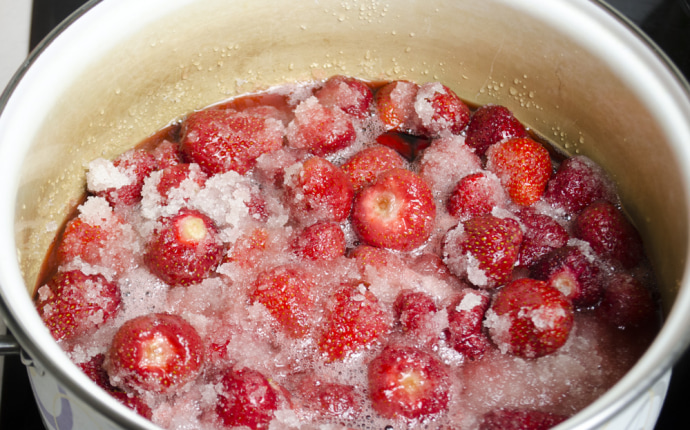
Strawberries gave enough juice.
P.S.: There are varieties of strawberries that almost do not give juice. If You've got such berries, then pour a few tablespoons of water at the bottom of the pan and put the pot on a low heat.
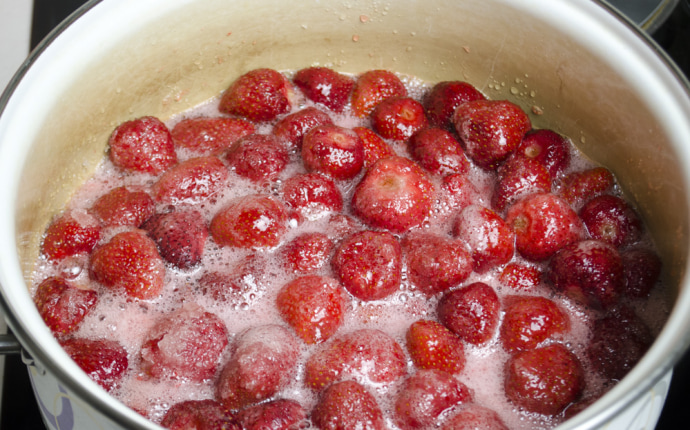
Place the pot containing the strawberries and their juice over medium heat. Heat gently, stirring occasionally to ensure all the sugar dissolves, then bring the mixture just to a boil.
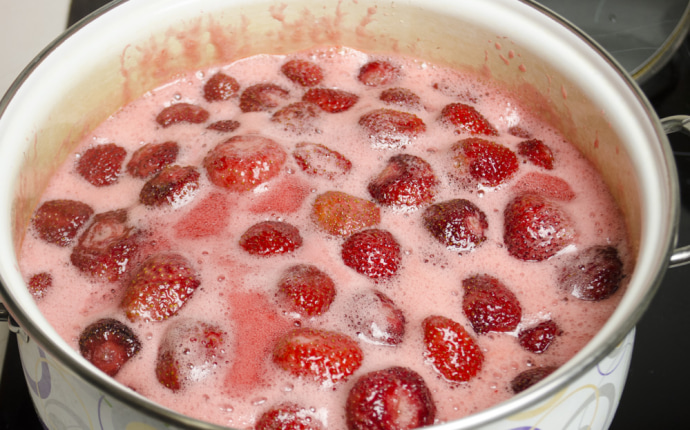
Cook jam over a medium heat for 5 minutes. Skim off the foam.
Skimming this off will help ensure your jam looks prettier, as well as to increase its shelf life. Foam can lead to spoilage, especially if you reduced the amount of sugar while cooking.
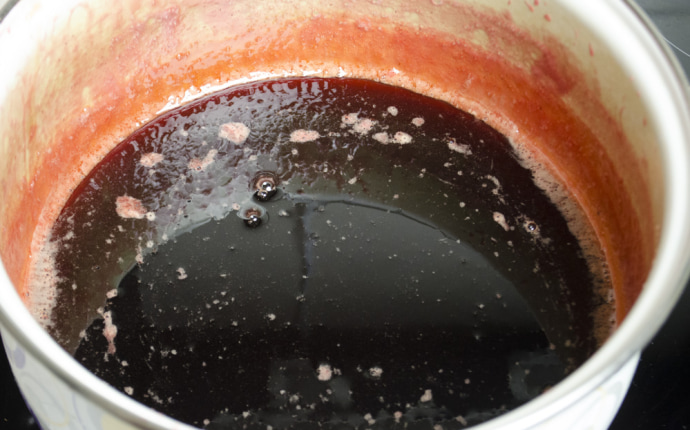
After the jam has boiled for 5 minutes, carefully remove all the strawberries from the syrup using a slotted spoon. Set the berries aside. This step helps keep the berries whole and prevents them from becoming too soft or breaking down.
Continue to cook the syrup alone over low heat (a gentle simmer) for 2-3 hours, or until it has reduced by about half and thickened noticeably. Skim off any foam that forms during this time.
(Note: 2-3 hours is a long simmering time; the goal is significant thickening. Monitor the syrup and check its consistency earlier if needed – see Tips & FAQ for methods to test the set.)
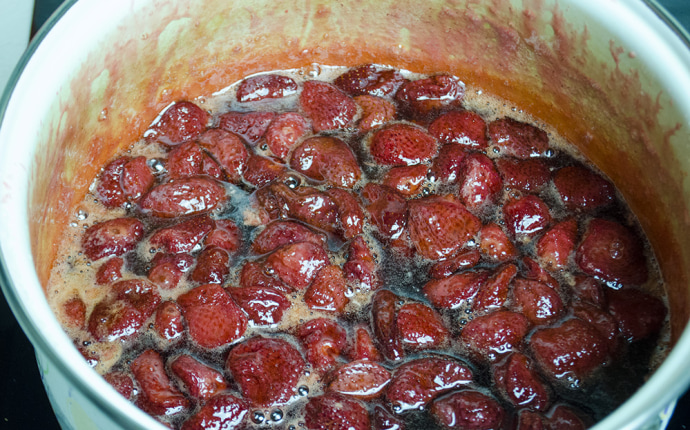
Once the syrup is boiled, return the berries to the syrup and bring the mixture back to a boil.
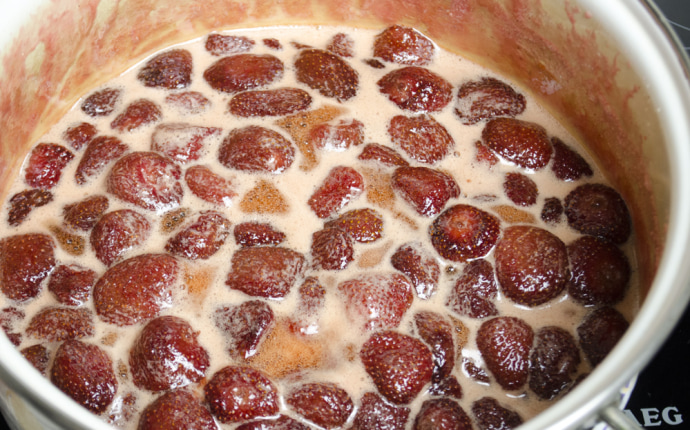
Boil jam for another 5 minutes on a medium heat. Skim off the foam.
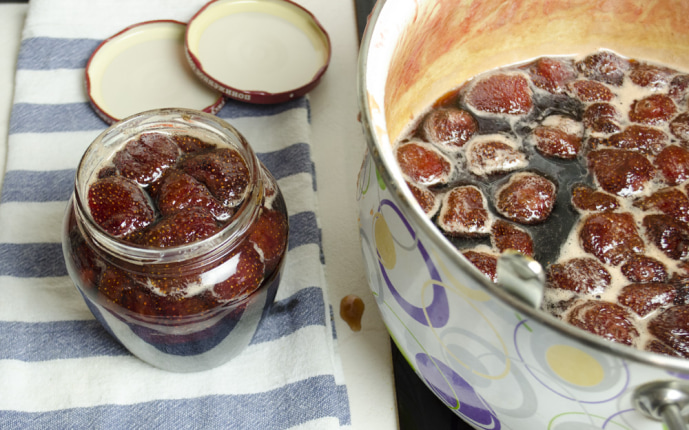
Pour the hot jam into clean, dry, sterilized jars and seal.
Sterilize lids and jars in any convenient way for you. Personally, I prefer to sterilize jars in the oven.
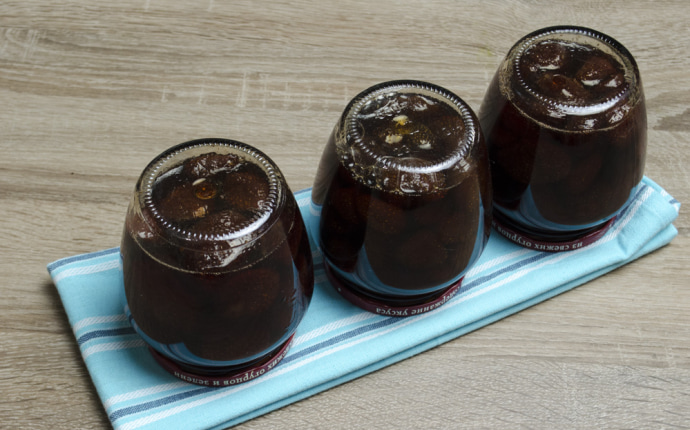
Turn over sealed jars and let them cool completely. You can wrap jars up in a blanket.
Cooled jars can be placed in any convenient for you place until you start eating jam.
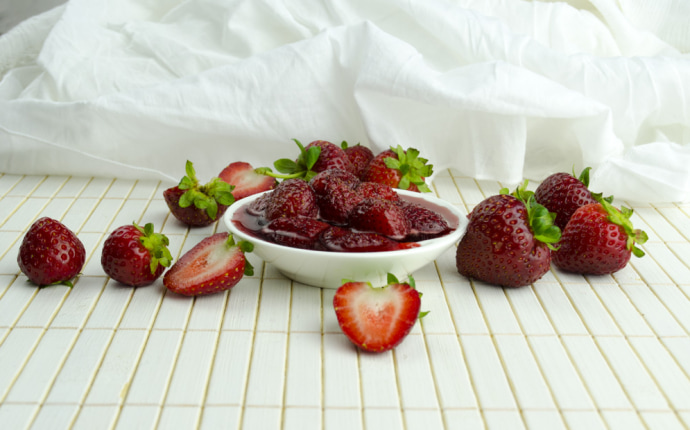
You can eat jam immediately with pancakes, tea or a bun.
Tasty, juicy and summerly delicious!
Recipe Tips
Testing for Set – How Do I Know When the Jam is Ready?
This is perhaps the most crucial part of jam making! Since this recipe involves a long simmer for the syrup, judging the set point is key. Here are a few reliable methods:
- The Cold Plate Test (My Favorite): Before you start cooking, place a few small plates in your freezer. When you think the syrup (or final jam) might be ready, take a plate out and drop a small spoonful of the hot syrup/jam onto it. Let it sit for about 30 seconds, then gently push the edge of the drop with your finger. If it wrinkles and holds its shape, it’s set! If it’s still runny, continue cooking the syrup/jam for a bit longer and test again.
- The Thermometer Test: If you have a candy or digital thermometer, the setting point for jam at sea level is around 220°F (105°C). Clip the thermometer to the side of the pot (don't let it touch the bottom) and cook until it reaches this temperature. Remember to adjust for altitude if you live significantly above sea level (reduce the target temperature by about 1°F for every 500 feet / 2°C for every 300 meters of elevation).
- The Spoon Test: Dip a cool metal spoon into the boiling syrup/jam, lift it out, and turn it horizontally. Watch how the liquid drips off. If it runs off in thin streams, it's not ready. If the drops merge together and fall off as a single 'sheet' or thick drop, it's likely set. This method takes a bit more practice to judge correctly.
Always remove the pot from the heat while you are testing to prevent overcooking!
The Importance of Skimming the Foam
As mentioned in the steps, skimming off the foam (or scum) that rises to the surface during cooking is important. This foam contains impurities and trapped air. Removing it results in a clearer, brighter-looking jam and, more importantly, helps improve its shelf life. Foam can sometimes contribute to mold growth or spoilage over time. A little trick: adding a tiny knob of butter (about ½ teaspoon) near the end of cooking can sometimes help reduce foaming, but skimming is the most reliable method.
Sterilizing Jars is Non-Negotiable for Canning!
Cleanliness is crucial for safe canning. You must use properly sterilized jars and new, clean lids for sealing. As mentioned, I prefer sterilizing jars in the oven (place clean jars on a tray in a cold oven, heat to 275°F/130°C, and leave for at least 20 minutes), but you can also boil them in water for 10 minutes or run them through a hot cycle in the dishwasher. Lids usually just need to be washed and kept hot (simmering in water, not boiling) until use. Always follow the manufacturer's instructions for your specific lids. This ensures no nasty bacteria spoil your lovely jam!
Storage Savvy
Properly sealed jars (ensure the lid 'pops' down after cooling and doesn't flex when pressed) can be stored in a cool, dark, dry place (like a pantry) for up to a year, maybe even longer. Once a jar is opened, however, it *must* be stored in the refrigerator and should ideally be consumed within a few weeks.
Leave a Comment