

Strawberry ice cream made with condensed milk and cream is the simplest way to create a delicious dessert without an ice cream maker and just from three ingredients. It's delicate, soft, without ice crystals that are bursting with fresh strawberry flavor, and perfectly sweet.
It's what you need on a hot summer day when nobody wants to sweat over a hot stove making crème anglaise or cooking a starch-based custard.
In my opinion, this is a simple, versatile recipe for creamy fruit ice cream. Instead of strawberries, you can use blackberries, raspberries, cherries, peaches, honeysuckle berries, blueberries, or even watermelon. You can easily adjust the sweetness of the dessert by regulating the amount of condensed milk.
How long does ice cream last
Store the finished ice cream in an airtight container in the freezer for 1 to 2 weeks.
If your freezer maintains a temperature of 0°F (-18°C) or lower, you can extend the storage time to 1-2 months.
To ensure your ice cream keeps well and maintains its properties, follow these rules:
- Seal the container tightly to prevent odors and air from entering. You can wrap it in cling film before putting the lid on.
- Maintain a stable temperature in the freezer. Avoid frequent door opening and partial thawing of the product.
- Avoid frequent opening of the container. For this reason, it's better to store ice cream in small portions.
- Label the preparation date to track the exact storage duration.
By following these simple tips, your ice cream will retain its texture, taste, and aroma of fresh strawberries.
Strawberry Ice Cream Recipe
Ingredients for 6 portions
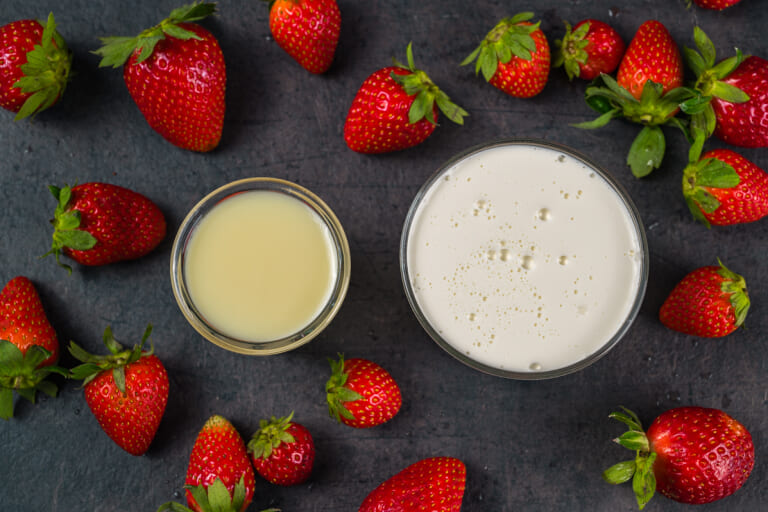
- 2½ cup Strawberry (350 g)
- 1¾ cup Heavy Whipping Cream (400 ml)
- 2/3 cup Condensed milk Sweetened (200 g)
How to make
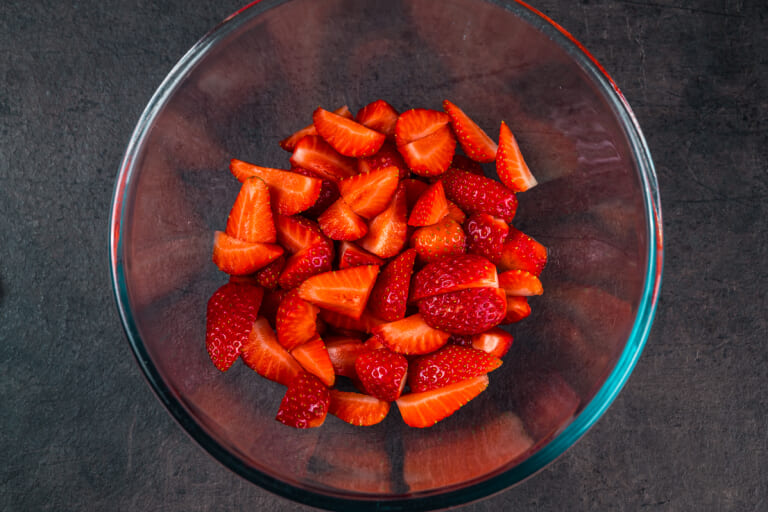
Wash fresh strawberries thoroughly, remove the stems, and pat them dry with a paper towel to remove any excess water. Then, chop the berries into pieces of your preferred size.
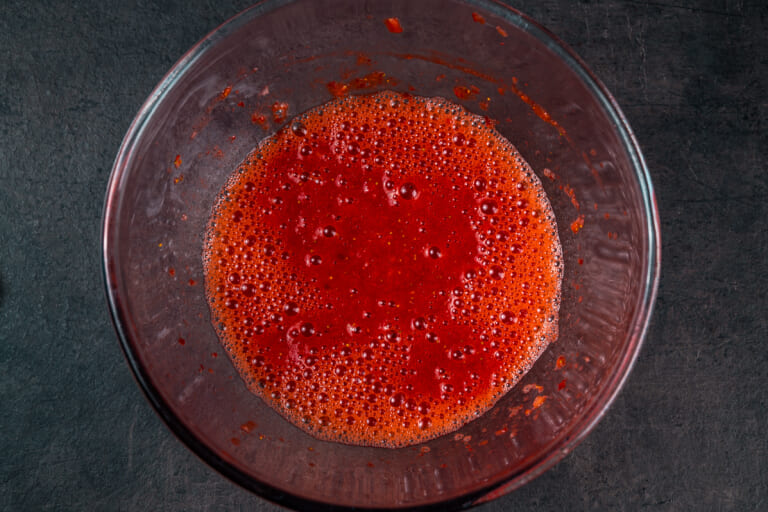
Puree the strawberries using a blender.
You can strain the strawberry puree through a fine sieve to remove the seeds if desired. Personally, I don't mind strawberry seeds. However, this tip is handy if you're using raspberries or blackberries instead of strawberries.
All ingredients should be chilled. Therefore, place the pureed berries in the freezer for 20-25 minutes, ensuring they don't freeze solid
The chilling step is crucial for achieving the perfect texture in your no-churn ice cream. Cold ingredients help create a creamier like store bought ice cream. If you're short on time, you can use an ice bath.
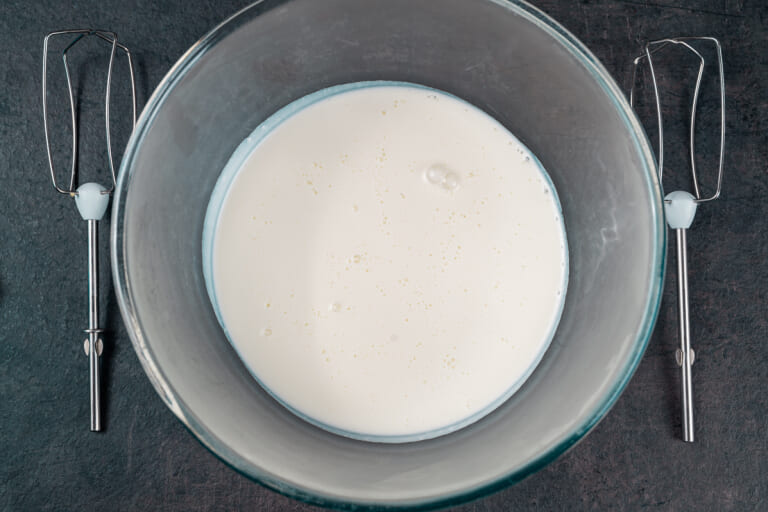
The heavy cream needs to be cold.
Pour it into a deep bowl, as it will increase in volume when whipped. Place the bowl in the refrigerator for at least 1 hour, covering it with plastic wrap to prevent the cream from absorbing any odors. The mixer attachments should also be chilled.
For successful whipping, the cream must have at least 30% fat content (light or heavy whipping).
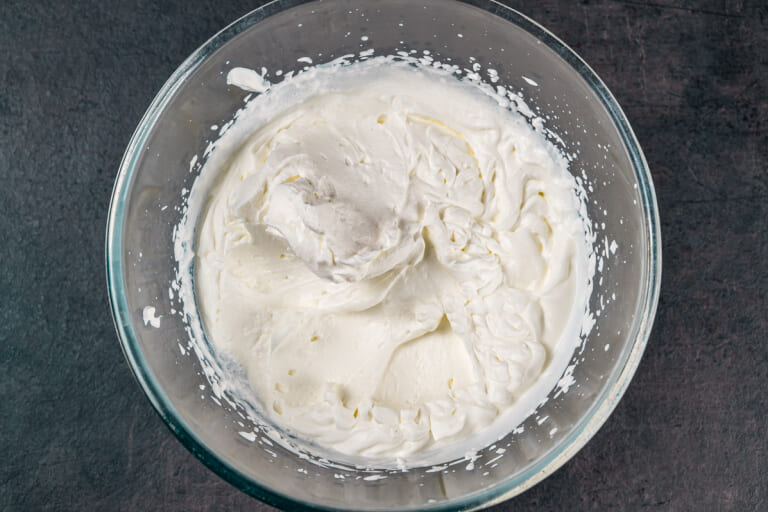
Whip the chilled cream with a mixer until soft peaks form. Start whipping at the lowest speed of the mixer, gradually increasing the speed.
It's crucial not to over-whip the cream, or it will separate, and we'll end up with butter and whey. Therefore, stop whipping when the cream has increased in volume, thickened, and leaves a clear trace when the whisk is lifted.
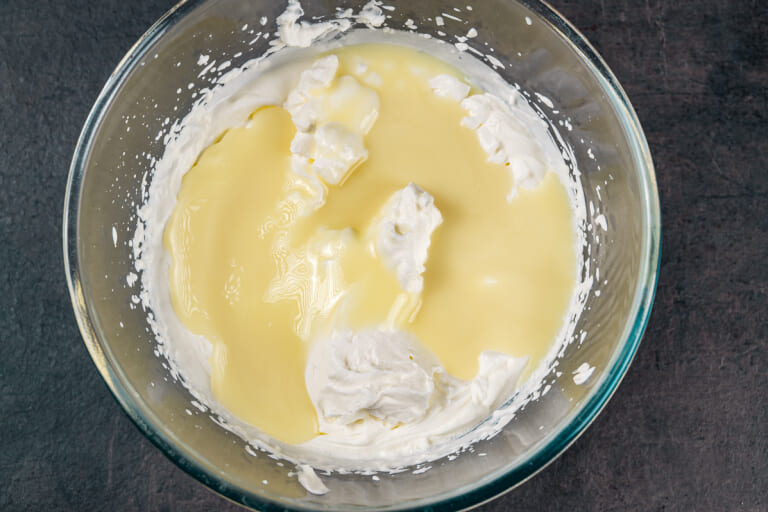
Add the chilled condensed milk to the bowl with the whipped cream. Beat with a mixer until uniform. Mix just long enough for the ingredients to combine.
I use about 2/3 cup (200g) of condensed milk, which results in a moderately sweet ice cream.
The amount of condensed milk can vary from 2/3 to 1 1/3 cups (200g to 400g), depending on your taste preferences and the sweetness of the condensed milk itself. Different brands may have varying sugar content. Keep in mind that the more condensed milk you use, the stronger its flavor will be in the final product.
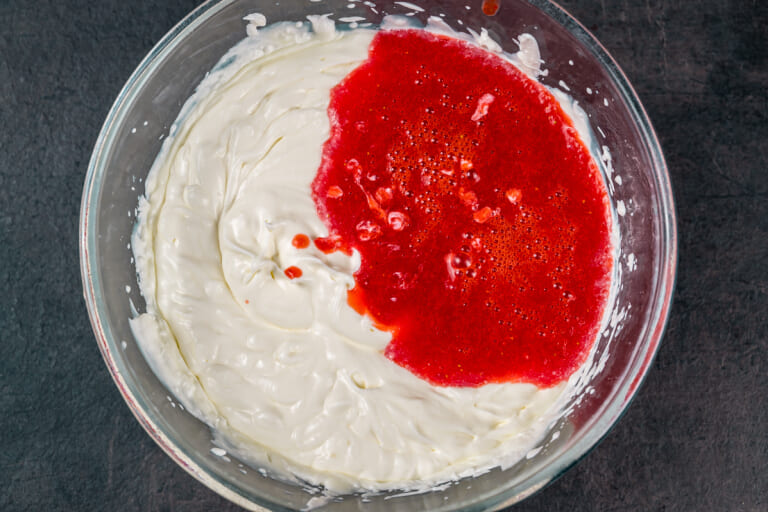
Add the mashed strawberries to the bowl with the cream mixture.
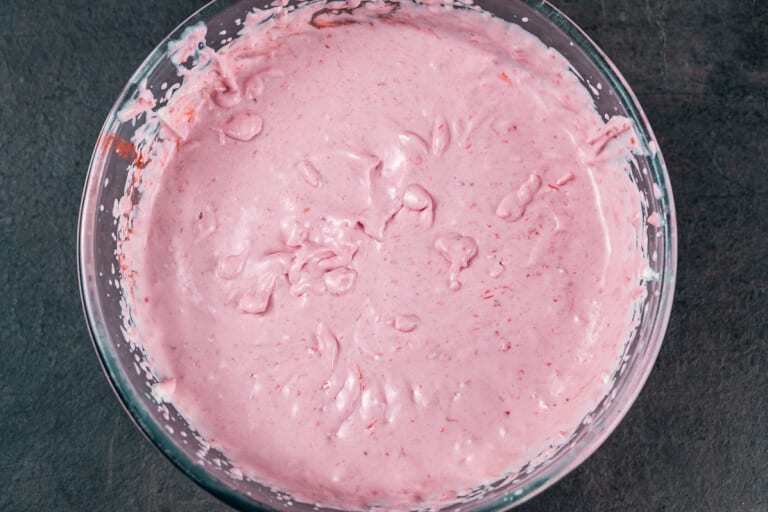
Beat everything with a mixer one more time. Mix just until all ingredients are combined.
If desired, you can gently fold the mixture with a silicone spatula using upward motions.
Taste the base and adjust the sweetness if needed.
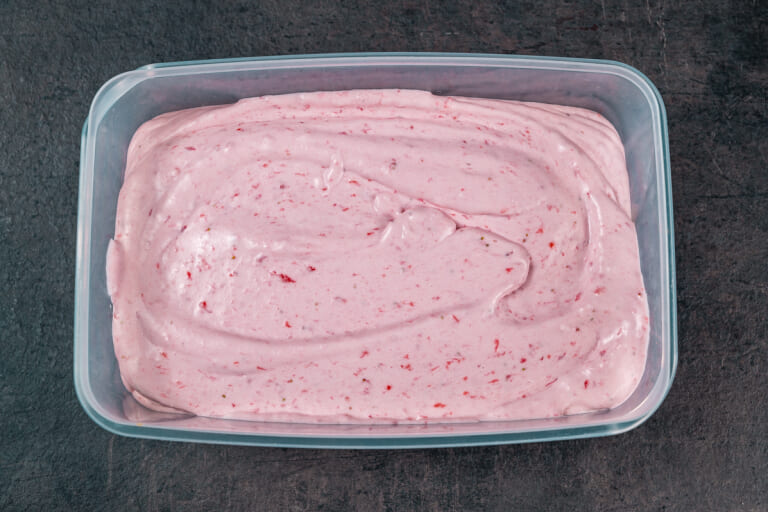
Pour the ice cream base into a suitable container, cover with a lid, and place in the freezer until completely set.
The ice cream needs to freeze for 6-8 hours, or better yet, overnight. The whipped cream aerates the base, resulting in a soft consistency without stirring during freezing. Thanks to the high-fat content and minimal liquid additives, the formation of large ice crystals is prevented during setting, giving you a creamy texture without churning.
You can portion the ice cream into individual cups with sticks, or you can use ready-made cones and wafer cups for this purpose. Line them with melted chocolate to prevent them from getting soggy during freezing.
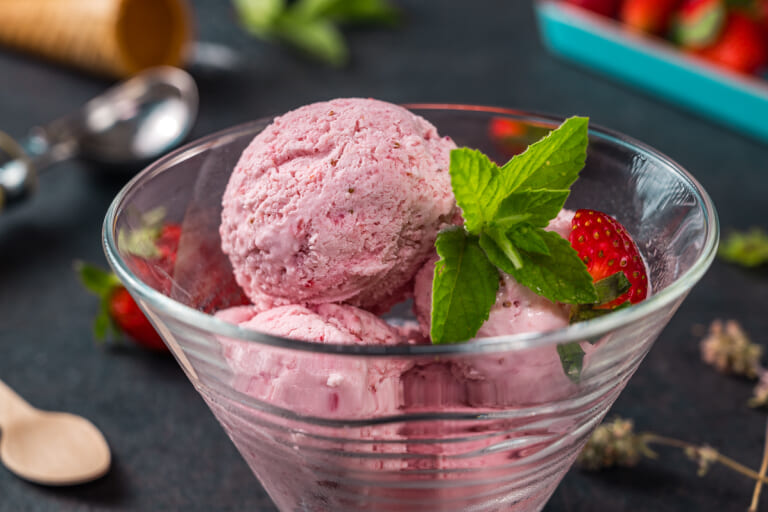
The homemade no-churn strawberry ice cream is ready. You can serve it with slices of fragrant strawberries, drizzled with strawberry jam, or mashed berries with sugar.
It's convenient to form scoops using a special ice cream scoop. For ease, first, dip it in boiling water. If your freezer is very cold, take the ice cream container out in advance and let it thaw slightly at room temperature.
Chef's note: This recipe is wonderfully versatile. Feel free to experiment with different fruits or add-ins like chocolate chips or nuts to create your unique flavors!
Recipe Tips
Can I use Low-Fat Cream to Make Homemade Ice Cream?
Yes, you can make ice cream at home using Light cream or even Half and half. However, the freezing technique will be different.
Firstly, we won't be able to whip such cream into a thick mixture; all ingredients must be simply mixed, resulting in a liquid base. Secondly, the mixture will have a low fat percentage. Large ice crystals will form as it freezes, and the ice cream will resemble a fruit popsicle.
To achieve a soft texture without large ice crystals, you'll need to stir the mixture as it sets. To do this, beat the mixture with a blender, mixer, whisk, or fork every 30-40 minutes during the first 2-4 hours of freezing. You'll need to repeat this process 3-6 times, depending on the volume of the product and the temperature. As it cools, the mixture will become thicker and fluffier. When its consistency resembles melted ice cream, transfer it to a storage container, cover it with a lid, and leave it to freeze completely. By stirring, we prevent the formation of large ice crystals, resulting in a soft texture.
If you want a lighter, lower-calorie dessert but are not willing to stir it every 30 minutes, you can make an even simpler two-ingredient version of Ice Cream with strawberries and condensed milk.
Can I use frozen strawberries?
If you're working with frozen strawberries, you'll want to process them without thawing. Place the frozen berries in a blender along with the chilled condensed milk and blend until smooth. This will give you a creamy, soft ice cream ready to eat immediately if you'd like. By the way, this is one method for making a dessert using frozen berries or bananas.
Pro tip: Before starting, ensure your blender is powerful enough to crush ice. If you're not confident about its power, let the berries sit at room temperature for 10-15 minutes to thaw slightly before blending.
Why doesn't this ice cream need churning?
Traditional ice cream requires churning to break up ice crystals as they form and to incorporate air. In this no-churn recipe, we achieve a similar effect through a couple of clever tricks:
- Whipped Cream: We whip the heavy cream to stiff peaks. This incorporates a lot of air into the base, making it light and preventing it from freezing into a solid block.
- Condensed Milk: Sweetened condensed milk is crucial. It's not just for sweetness; its high sugar content lowers the freezing point of the mixture. This means fewer large ice crystals can form, resulting in a softer, scoopable texture even without churning.
So, it's the combination of aerated cream and the properties of condensed milk that gives us that lovely creamy texture without the need for an ice cream machine!
Leave a Comment