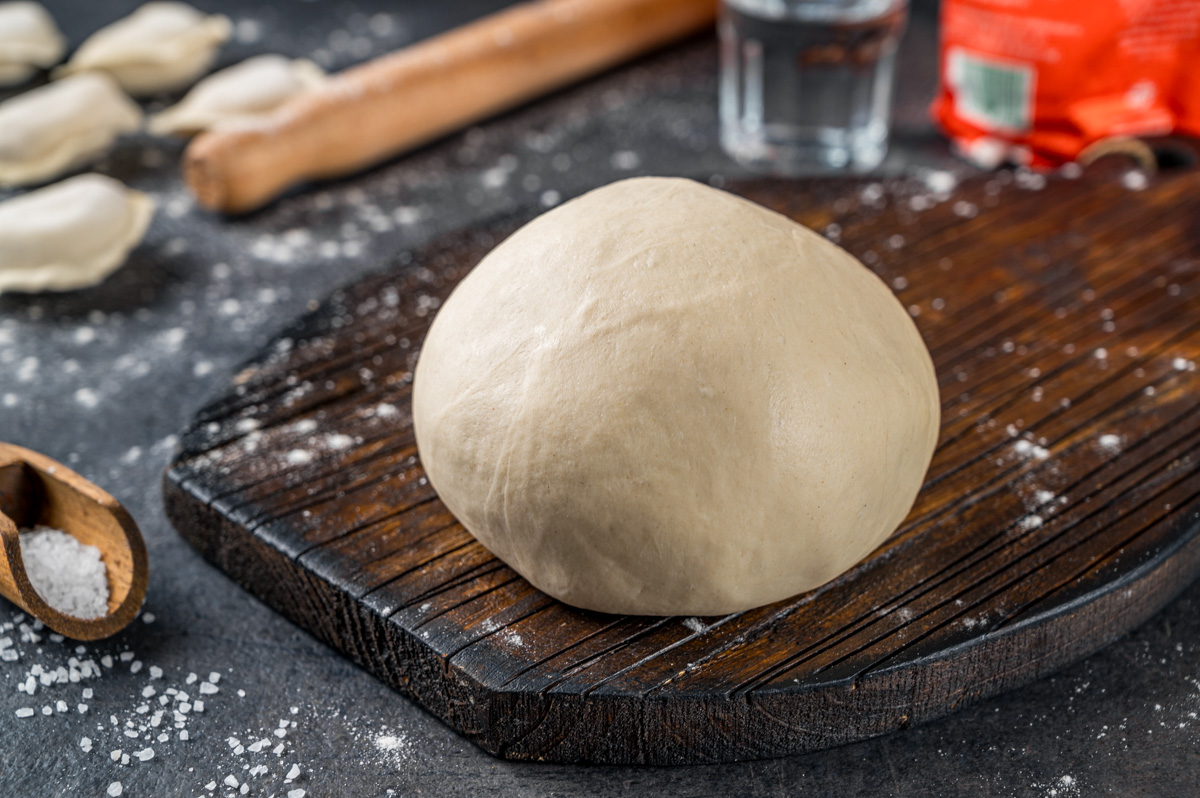

Dough for vareniki, prepared without eggs on water, is my absolute favorite, and there are reasons for that. This dough recipe is incredibly simple and consists of only two ingredients. Such fasting dough is perfect for vareniki with a non-sweet filling, easily rolls out, holds its shape well and does not tear during boiling.
Vareniki made with this simple dough are well preserved during freezing. Due to the absence of eggs in the composition, they can be prepared for a fasting table and for vegetarians. In addition, pierogi from dough without eggs are an indispensable part of the Holy Supper on the eve of Christmas.
Ukrainian Dumplings or Pierogi?
Although many people think that Ukrainian vareniki and Polish pierogi are the same dish, this is not the case. They do indeed have a lot in common, but at the same time, they differ from each other, reflecting the traditions of each culture. Authentic Ukrainian vareniki dough is traditionally made from water and flour, while Polish dough typically includes more eggs and butter. I want to share this traditional vareniki dough recipe, which is the same one my great-grandmother used to make her dumplings.
Warm or ice-cold water for the dough: is there a difference
Most often, recipes for lean vareniki dough are very similar and consist of water and flour in a ratio of 1:2 or 1:3. The ratio depends on the desired dough consistency and the characteristics of the flour used.
Some recipes recommend using ice-cold water, others warm water, and some even boiling water. I'll mention right away that dough made with boiling water is a scalded dough and is prepared according to a different recipe.
Dough with warm water
Warm water promotes quick and even gluten development. As a result, we get a rather soft, elastic, dense, and pliable dough. It's pleasant to work with: easy to knead, easy to roll out, it maintains its shape well and the desired thickness when rolling.
This dough is more springy, more elastic, and stretches better. It's well-suited for fillings that require tight wrapping, such as potatoes, cabbage, mushrooms, or meat. At the same time, it's quite sturdy, you can roll it out very thinly without fear of it tearing during cooking.
Dough with ice-cold water
Ice-cold water, on the contrary, slows down gluten development. As a result, we get a softer, more tender, and more plastic dough. It's slightly less springy and elastic.
This dough has a consistency closer to soft plasticine, it's pleasant to work with, and rolls out well. It's suitable for berry, fruit, and cottage cheese fillings. During cooking, the dough remains soft and tender. It makes excellent steamed vareniki. However, for cherry vareniki, I prefer to use kefir-based dough.
For this recipe, you can use either warm or ice-cold water, depending on your goals and personal preferences. Most often, I use it for making potato vareniki, so I prefer to prepare it with warm water.
Ingredients for 1 portion
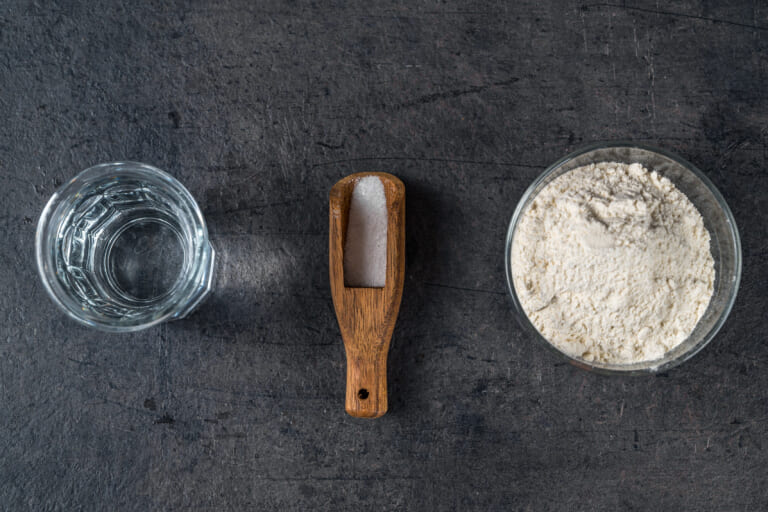
- 1 cup Water (240 ml)
- 6 cup All-purpose flour (720 g)
- 1 tsp Salt
Eggless Vareniki Dough Recipe
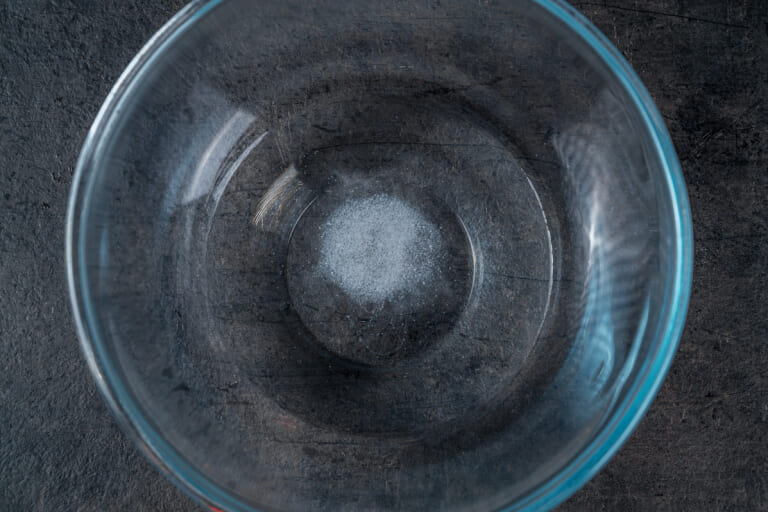
Add salt to warm water and stir until the salt crystals are completely dissolved.
The water temperature should be comfortable for your hands, around 95-104°F (35-40°C).
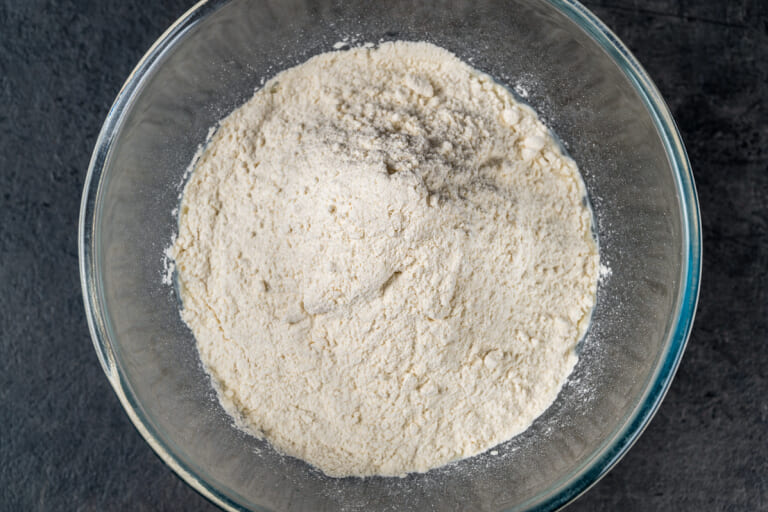
Add the sifted flour to the bowl with warm water and mix.
Tip: Don't add all the flour at once. It's better to start by adding 3 1/2 cups of flour (2/3 - 3/4 of the total amount). Firstly, this dough will be much easier to knead, gradually adding the remaining flour. Secondly, depending on the quality and characteristics of the flour, the amount may vary. You might need less flour than specified in the recipe.
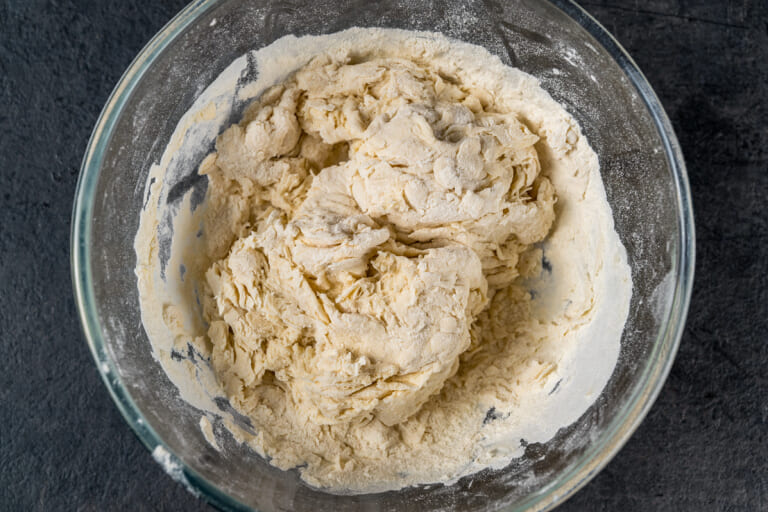
Mix the flour with water until it's relatively uniform and the flour is moistened.
Let the dough rest for 5 minutes to initiate the autolysis process in the flour. This allows the gluten to start developing, making the dough much easier to knead.
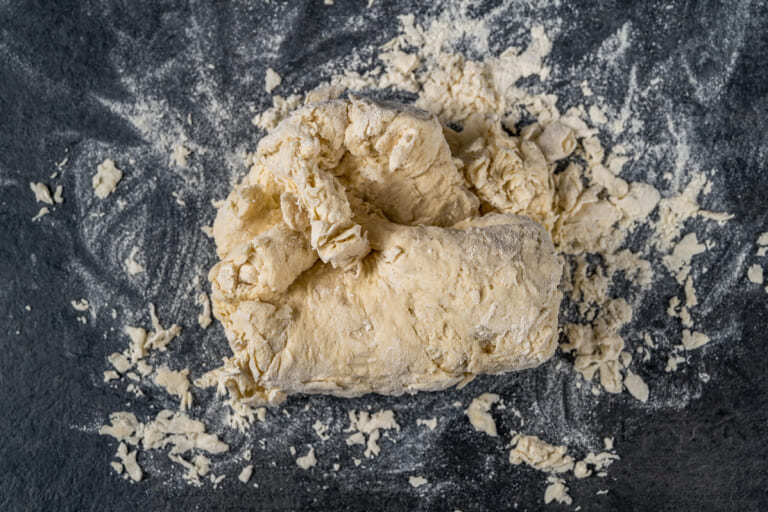
Place the dough on a floured surface and knead until it becomes uniform and elastic. This will take about 5 to 7 minutes.
As you knead, gradually add the remaining flour to the dough in parts. At first, it will stick to your hands and the surface, but as you add more flour, the dough will become denser.
Tip: Incorporate the remaining flour into the dough in small portions, following the principle of "as much as it will take." It's quite convenient to do this by simply dipping the ball of dough into flour, and then kneading it until it absorbs all the dry particles. Repeat this process until the dough reaches the desired consistency.
Tip: If desired, you can add 1-2 tablespoons (15-30 ml) of flavorless vegetable oil to the dough. The oil makes it softer, more elastic, and smoother. The dough will stick less to the surface, won't dry out as quickly, and the taste of the finished products will be better.
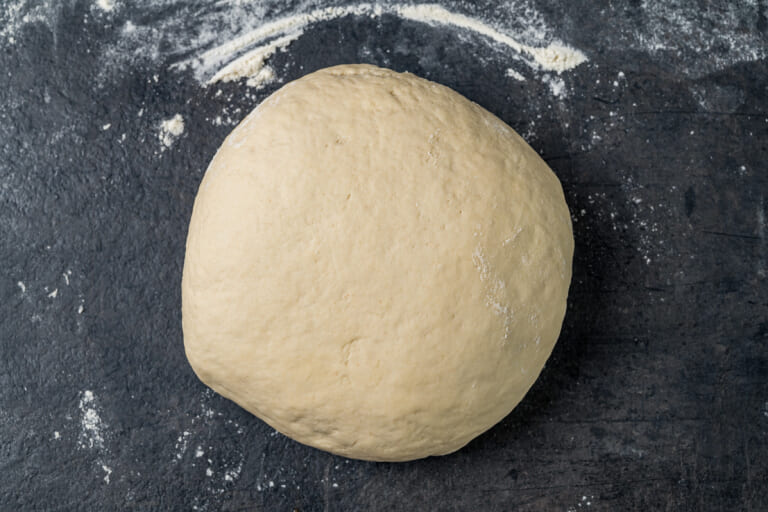
Knead the dough until it's elastic, uniform, sufficiently dense, firm, and doesn't stick to your hands. Shape it into a ball.
Nuance: At this stage, the dough is already well-kneaded, but it's still "underdeveloped" as the gluten strands are not yet fully formed. You can easily check this by pressing on it or pinching its edge: the dough will feel dense to the touch and will immediately shrink back to its original state.
Tip: The advantage of this recipe is that it has minimal ingredients. Consequently, it's very easy to correct the consistency of the dough if needed. If it turns out too soft (sticks to your hands or spreads on the table surface) - add more flour. If it turns out too dense (difficult to knead and doesn't form into a ball) - add more water.
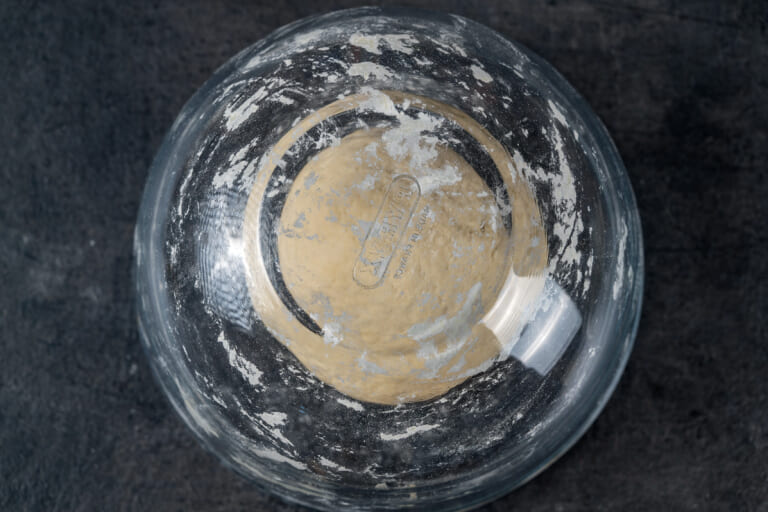
Cover the prepared dough with a bowl or wrap it in plastic wrap to prevent it from drying out. Leave it in a warm place without drafts for 30-40 minutes.
During this time, the dough will mature, the gluten will develop sufficiently, and you'll be able to shape the vareniki.
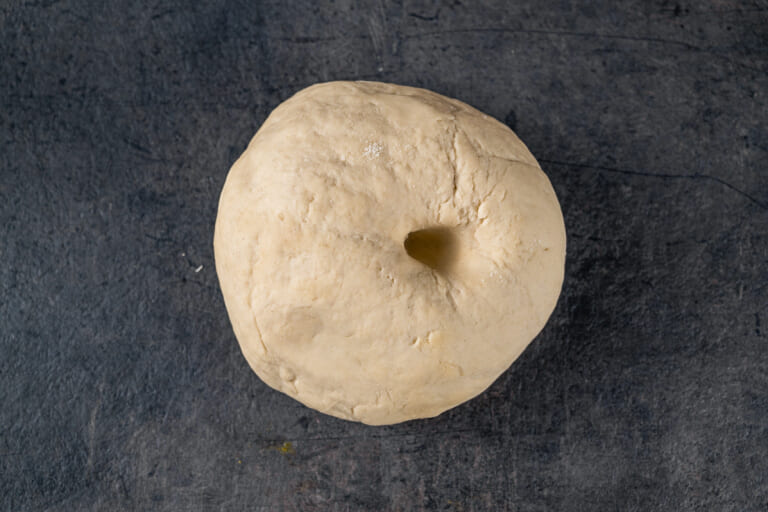
You can check if the dough is ready by pressing it with your finger or pinching its edge. If it doesn't spring back to its original state and doesn't shrink, it's ready to use.
Tip: You can use a bread machine to knead the dough. Alternatively, you can use a dough hook attachment in a food processor or stand mixer.
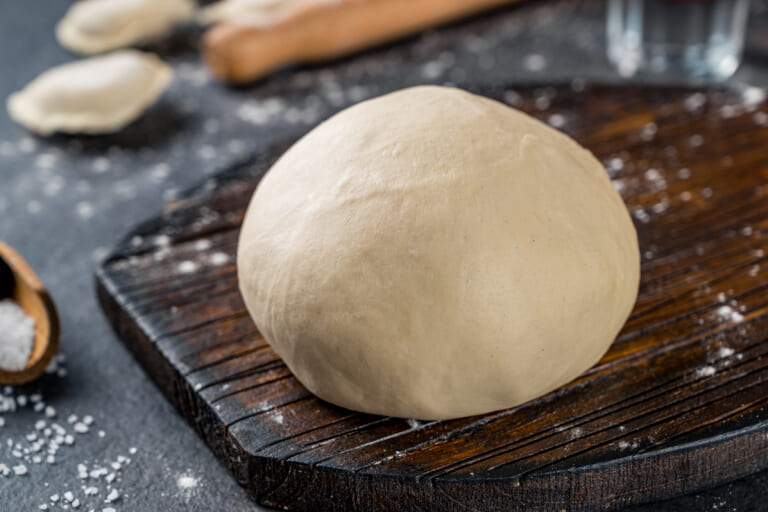
The water-based vareniki dough is now ready.
This amount of dough will yield approximately 70-90 small vareniki or about 35-50 large ones. The dough usage will depend on the size of the dumplings and the thickness of the dough.
Recipe Tips
How to store
To prevent the vareniki dough from drying out during storage, it needs to be carefully wrapped in plastic wrap or placed in a tightly sealed bag.
- In the refrigerator: The dough can be stored in the refrigerator for up to 2 days. With longer storage, it darkens, becomes sticky, watery, and loses elasticity. Sometimes after storage, the dough becomes more watery and requires additional flour. Personally, I prefer to store it in the refrigerator for no longer than 24 hours.
- In the freezer: The dough tolerates freezing well and can be stored in the freezer for up to 3 months. To thaw the dough, place it in the refrigerator overnight until it's completely defrosted.
Leave a Comment