

As it happens, this is one of my all-time favorite dishes. Hot vareniki with potatoes, seasoned with caramelized onions and cracklings or simply served with sour cream (smetana). Since the dough for vareniki is unsalted, their taste depends entirely on the filling, so it must be incredibly delicious.
Unfortunately, store-bought frozen vareniki can't hold a candle to homemade ones. If you want to treat yourself to this dish, you'll have to put in some effort. The process of preparing the filling, dough, and shaping the vareniki takes 2-3 hours, which is quite a luxury in our busy times. . But it's worth it.
What are vareniki
Varenyky are a traditional Ukrainian dish, a type of dumpling, which consists of boiled dough pockets with filling, shaped like half-moons.
What's the difference between vareniki, pierogi, and pelmeni
Ukrainian varenyky are cousins to Polish pierogi. They are very similar in composition and share the same half-moon shape. However, each dish reflects the traditions of its people.
- Ukrainian varenyky are smaller in size, traditionally made with lean dough using water, differ in types of fillings, and are served with a generous amount of sour cream.
- Polish pierogi are larger, with a fluffier dough that contains more eggs, dairy products, and butter. They differ in fillings and serving style. Among Polish pierogi, there are popular "pierogi ruskie," filled with mashed potatoes and cottage cheese. This filling is very popular among Western Ukrainians. The name "pierogi ruskie" has nothing to do with Russian cuisine and comes from the word "Ruthenian." This is what Western Europeans called the inhabitants of Kievan Rus, Slavs living in the territory of modern Ukraine.
- Pelmeni are a Russian dish, consisting of boiled dough products with filling. Pelmeni are filled with raw meat, made from lean dough, and shaped like a circle or an ear, very similar in appearance to Italian tortellini and Cappelletti.
So, vareniki are a national Ukrainian dish, and despite their popularity in Eastern Europe, they are not related to Russian cuisine.
Fillings for vareniki
Every Ukrainian housewife has her favorite recipe, so there are dozens of filling options. They can be prepared as a main course with potatoes and cottage cheese, boiled meat, mushrooms, sauerkraut, or offal. Or as a dessert with cherries, cottage cheese, apples, blueberries, strawberries, raspberries, or poppy seeds.
Potato and caramelized onion dumplings are my absolute favorite; they remind me of home. If you exclude butter from the recipe, you'll get a vegetarian or Lenten option. For me, potato vareniki are an integral part of the traditional 12 Lenten dishes served on Christmas Eve.
This amount of ingredients yields 80-90 small vareniki or 50-60 large vareniki. The quantity depends on the size of the product and the thickness of the dough. A serving for 1 person is 15-20 small vareniki or 12-15 large ones.
Ingredients for 5 portions
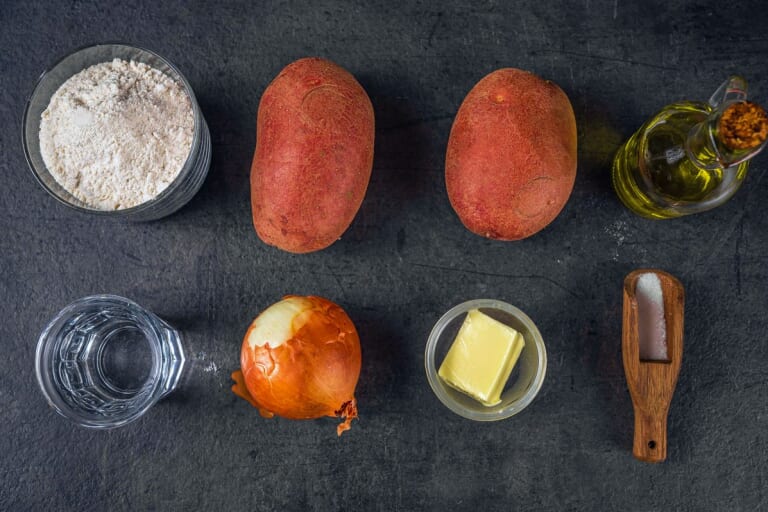
For the dough
- 1 cup Water (240 ml)
- 6 cup All-purpose flour (720 g)
- 1 tsp Salt
For the potato filling
- 2 lb Potatoes (1 kg)
- 2 medium Onion
- 5 tbsp Vegetable oil (75 ml)
- 1/2 stick Unsalted butter (55 g)
- 1 tsp Salt
- 2 pinch Ground black pepper
For the topping
- 1/4 stick Unsalted butter (27 g)
Ukrainian Potato Vareniki Recipe
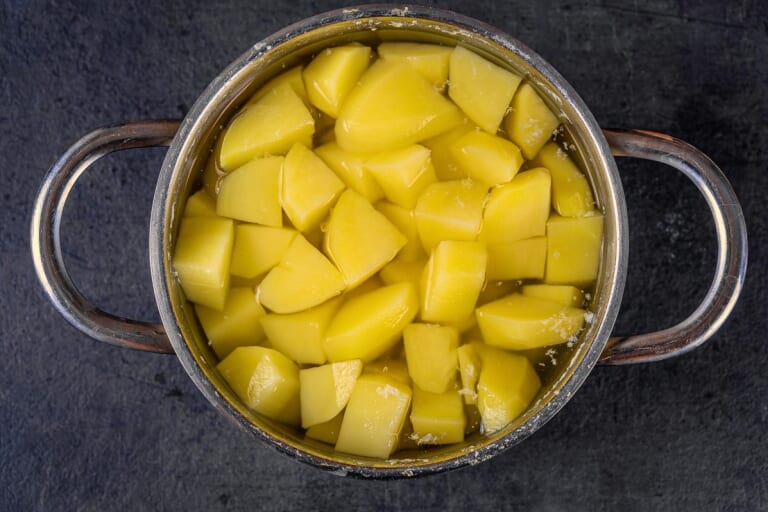
Boil the potatoes as you would for mashed potatoes.
To do this, peel and cut the potatoes, place them in a pot, and cover with cold water so that the water is about 1/2 inch (1-1.5 cm) above the vegetables. Bring the water to a boil, add salt, and cook the potatoes under a loosely closed lid over low heat until tender.
The boiling should be moderate, without vigorous bubbling. This usually takes 25-30 minutes, depending on the type of potatoes. You can check for doneness by piercing the potatoes with a fork or knife; they should be soft.
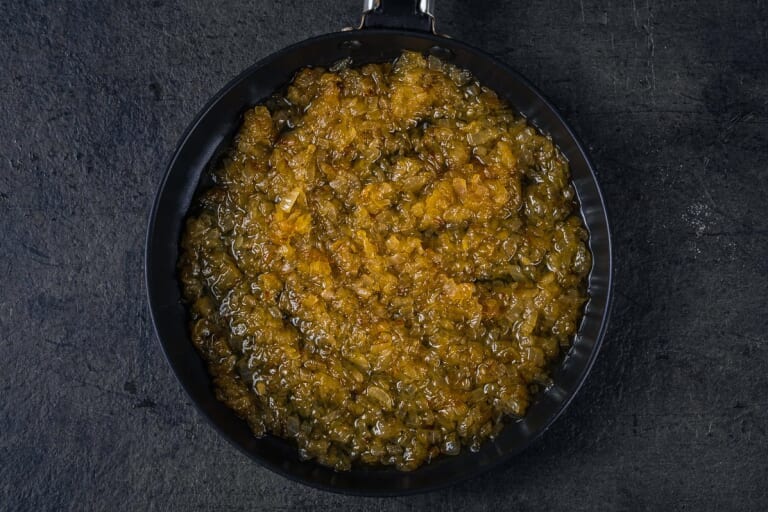
Peel the onion and dice it finely (brunoise), then add it to a pan with heated vegetable oil. Fry the onion over low heat for 25-35 minutes, stirring occasionally, until it reaches a beautiful light brown color.
Our goal is to caramelize the onion, not just fry it. This process gives the onion a pleasant nutty, slightly smoky aroma and a delicate taste. To me, potatoes with this onion somehow resemble the aroma of mushrooms.
Tip: You can use a mixture of butter and vegetable oil for frying the onions.
Tip: You can set aside some of the cooked onions for serving.
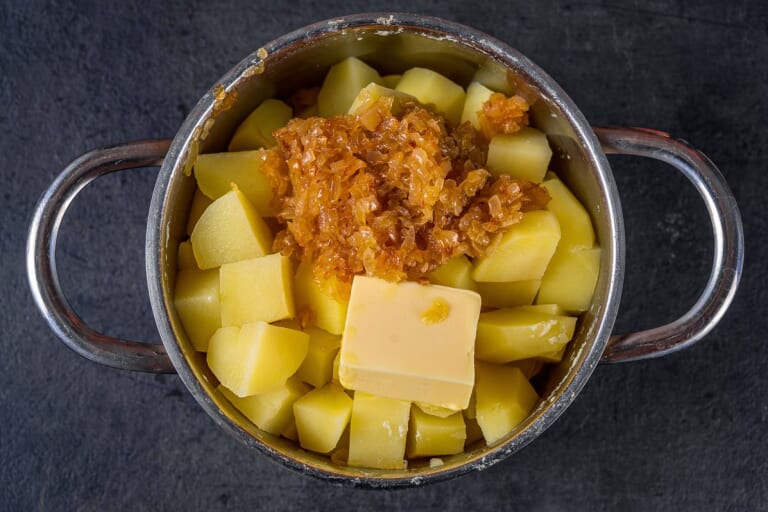
Drain all the water from the cooked potatoes. Add the caramelized onions along with the fat they were fried in, butter, and ground black pepper to taste.
Tip: If desired, you can add 2-3 tablespoons of flavorless vegetable oil to the filling.
Nuance: I add the fried onions directly to the pot, then mash them together with the potatoes. This way, the soft caramelized onions dissolve completely into the filling, infusing it with their flavor and aroma. If you prefer a non-uniform filling with pieces of onion, you should add them to the already prepared mashed potatoes.
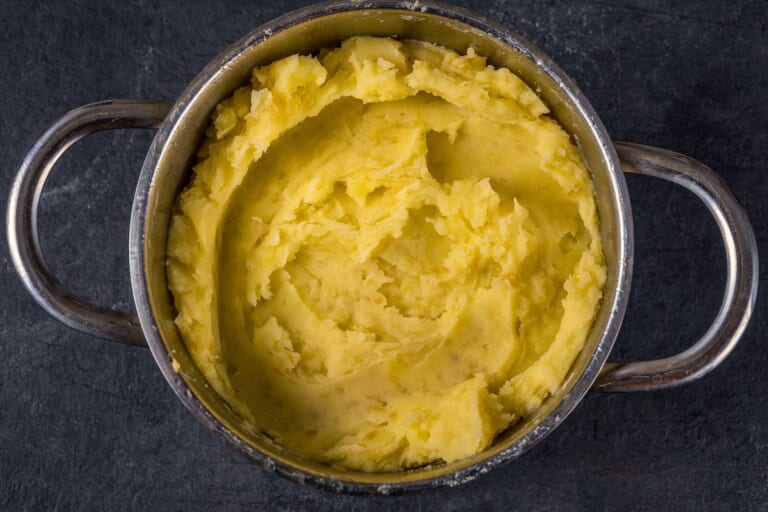
Mash the potatoes using a potato masher or a pestle. Taste and add salt or ground black pepper if necessary. The consistency of the finished filling should be quite thick, yet with a silky and creamy texture. Allow the potato filling to cool completely.
Important: Since we're using unleavened dough, the taste of the vareniki depends entirely on the flavor of the filling. The potatoes should taste very good, with enough salt, spices, and butter. Mash should be so delicious that you have an irresistible urge to eat them right away.
Important: The consistency of the mashed potatoes should be slightly firm and on the drier side. It should be thicker than you'd typically prepare for a side dish.
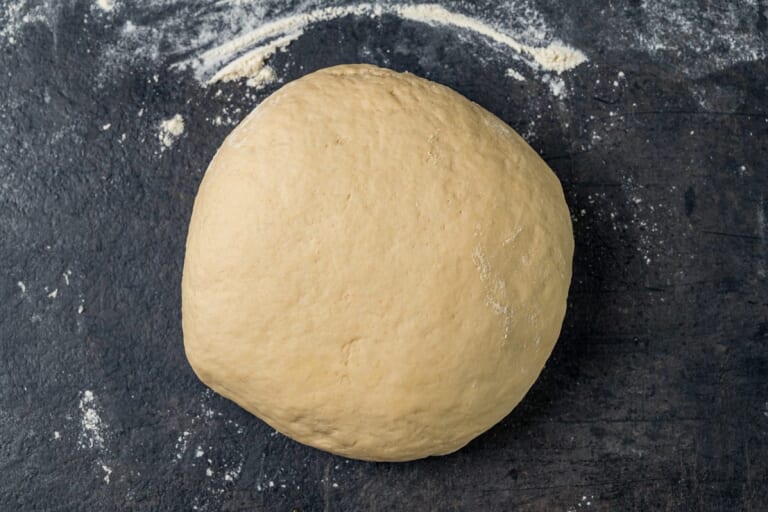
Preparing the dough:
I've described the process of making the dough in detail in a separate recipe.
Pour warm water into a bowl and add salt, stirring until dissolved. Add 3/4 of the sifted flour and mix with a fork until smooth. Transfer the dough onto a work surface and gradually add the remaining flour, kneading until you have a firm, elastic, non-sticky dough.
Cover the dough with a bowl and let it rest for 30-40 minutes.
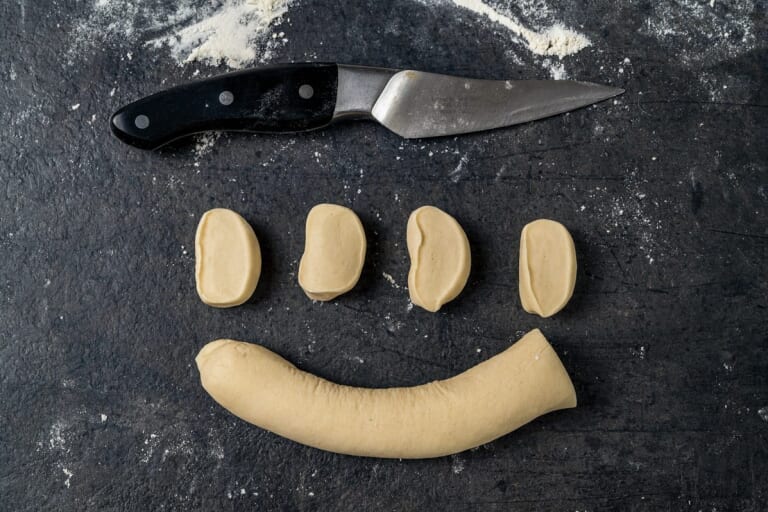
Take 1/4 of the dough and roll it into an even cylinder about 3/4 inch (2 cm) in diameter. Cut the cylinder into equal parts, spacing them about 1/2 to 3/4 inch (1-1.5 cm) apart.
Cover the remaining dough with a bowl to prevent it from drying out.
Tip: If your dough turned out very firm, the cylinder might slip on the work surface. In this case, slightly dampen your hands.
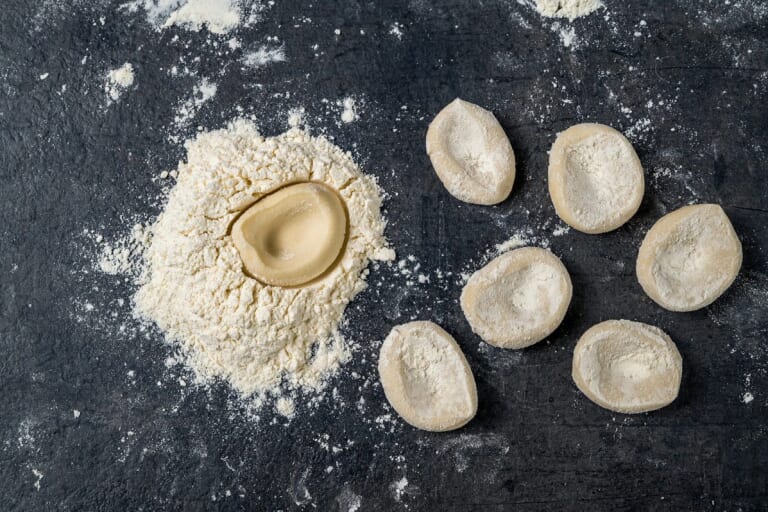
Roll each small piece of dough in flour on both sides, gently pressing down with your finger in the center to create a round or slightly oval-shaped piece.
This process will give us pre-formed pieces that will be easy to roll out into properly shaped discs.
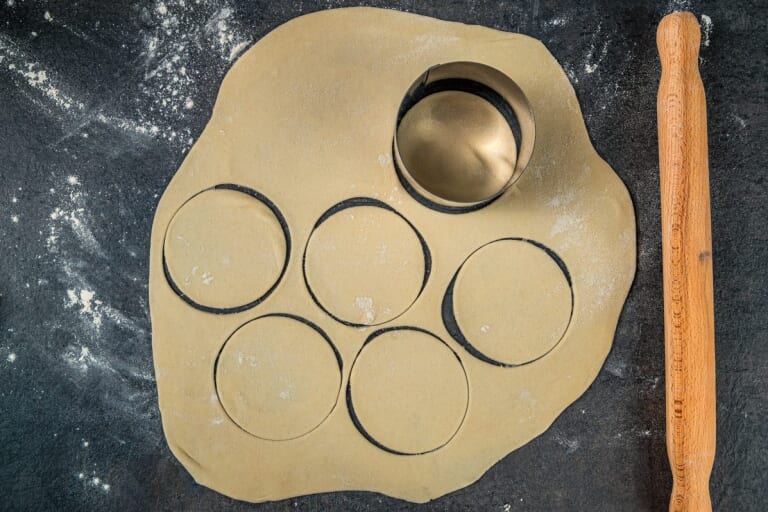
The dough can be rolled out using a pasta machine or a rolling pin into a sheet 1/16 to 1/8 inch (1-2 mm) thick, and then cut into circles using a round cookie cutter, dough circle or a thin-walled glass.
The diameter of the circles can be anywhere from 2 to 3 1/4 inches (5 to 8 cm).
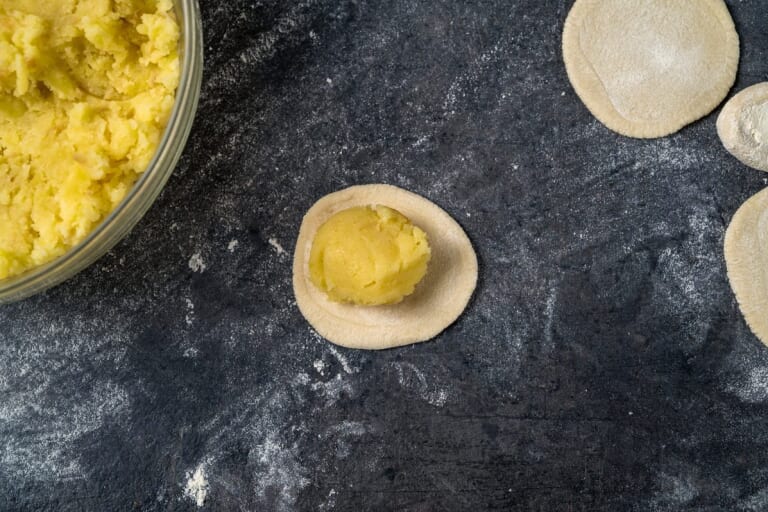
Roll out each piece of dough into a thin disc using a rolling pin. Place the potato filling in the center. It's most convenient to do this while holding the disc in your left hand (or right hand if you're left-handed).
Nuance: The size of the vareniki can vary and depends on the diameter of the dough disc. I prefer to make smaller-sized dumplings, so the diameter of my dough discs is usually 2 to 2 1/4 inches (5-6 cm). For one such disc, I typically use 1/2 to 1 teaspoon of filling. For larger-sized dumplings, you can make dough discs with a diameter of 2 3/4 to 3 1/4 inches (7-8 cm), using 1 to 2 teaspoons of filling for each.
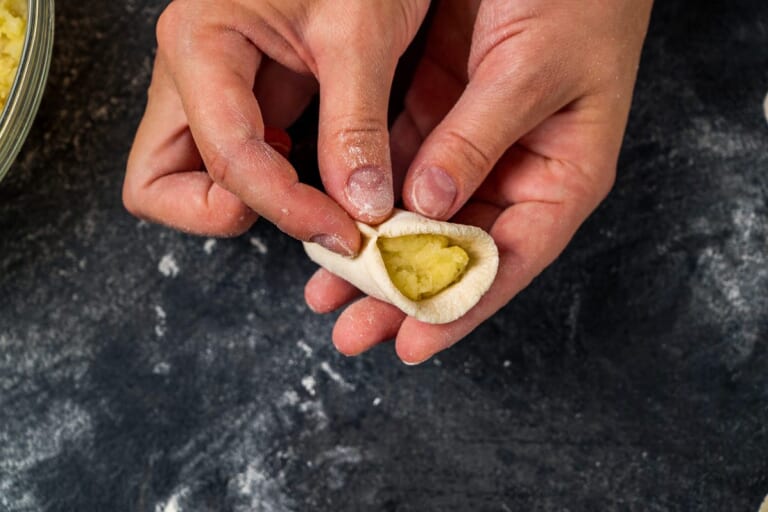
Fold the dough disc in half to create a half-moon shape, similar to a quesadilla or empanada, and join the edges, pinching them together in the center.
Using your thumb and index finger, pinch the edges of the varenik from one side towards the center, then repeat from the other side. For extra security, I go over the edge of the varenik once more, pinching the edges together.
Repeat this process until you've used up all the dough and filling.
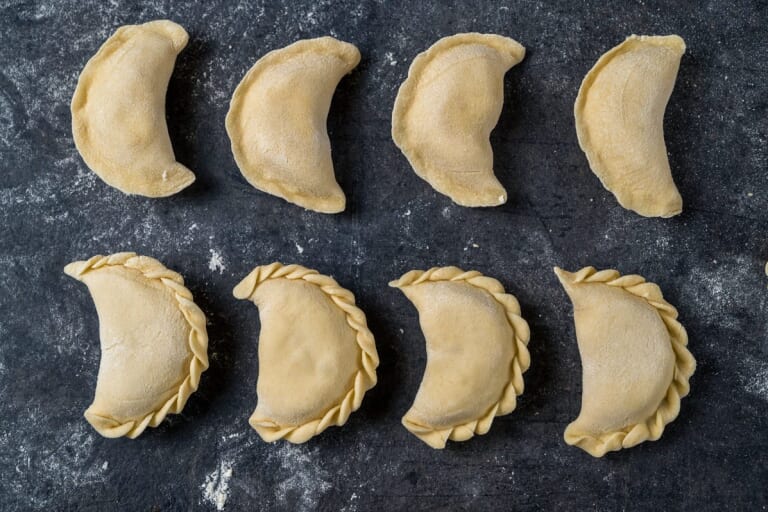
Place the finished dumplings on a floured surface, keeping them slightly apart from each other to prevent sticking.
Tip: If desired, you can decorate the edges of the vareniki with a braid or other pattern.
Nuance: At this stage, you can freeze the vareniki for future use.
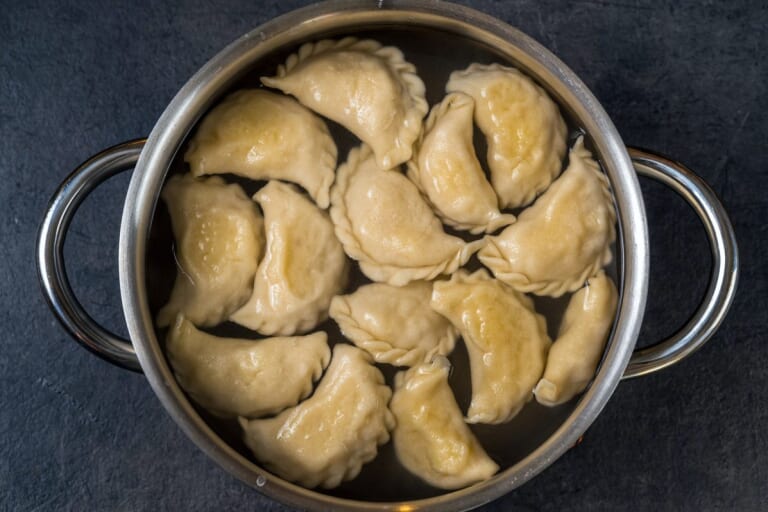
To cook the vareniki, drop them into a large pot of boiling salted water and gently stir until they float to the surface. After they rise, cook the them at a moderate boil without a lid for 2-5 minutes, stirring occasionally.
Tip: Stir the water well before adding them to create a whirlpool. This way, the water current catches the dumplings and they sink more slowly. As a result, they have less contact with each other and the bottom of the pot, preventing them from sticking together or to the cookware. Add the vareniki to the boiling water 1-3 at a time.
Tip: Cook the vareniki in a large amount of water, in small batches. They should float on the surface in a single layer, or at most, two layers after rising. The ratio of vareniki to water should be 1:5.
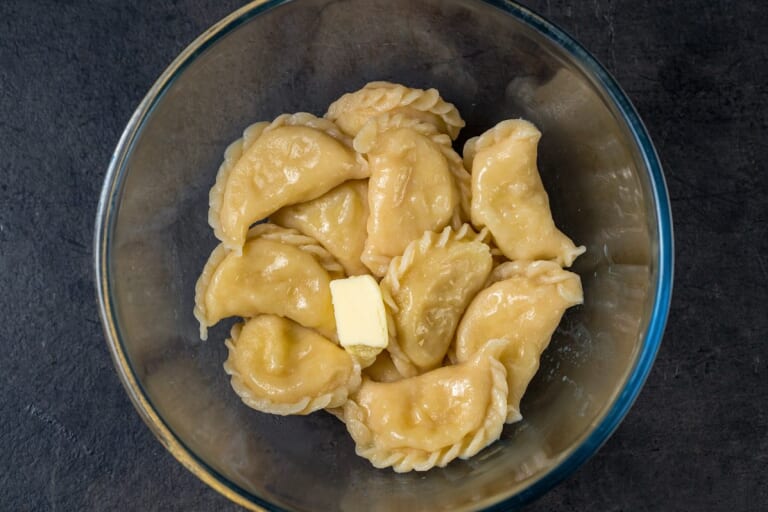
Remove the cooked vareniki from the pot using a slotted spoon and place them in a suitable bowl. Dress them with butter or fried onions with bacon and gently toss to coat without damaging the dumplings.
Tip: It's convenient to toss them in a ceramic or heat-resistant glass dish. To do this, add the butter or topping, cover with a lid, and then carefully shake the container. This trick ensures the vareniki are evenly coated with the dressing.
The second advantage of this method is that such dishes retain heat well. This way, while I'm cooking the second and third batches of dumplings, the first batch stays hot. I simply add the freshly cooked vareniki to the same container, add more dressing, cover with the lid, and shake the container again.
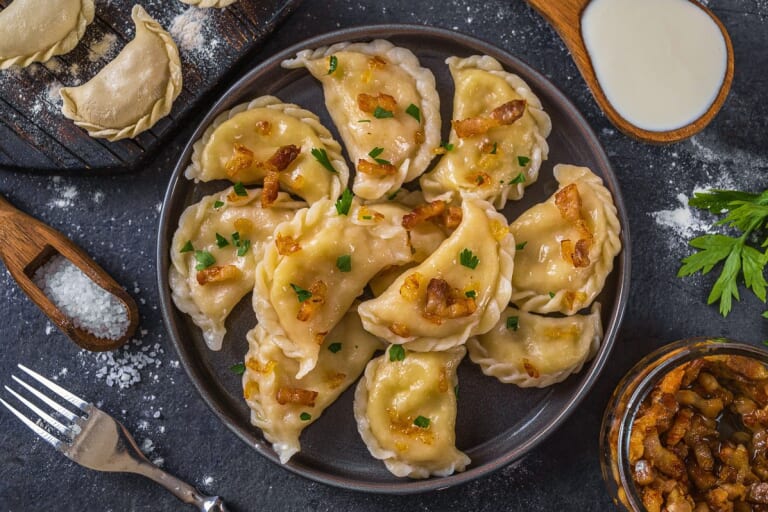
The potato and caramelized onion vareniki are ready.
You can serve vareniki with smetana (sour cream), crispy pork cracklings or bacon, caramelized onions, butter, chopped dill, creamy mushroom sauce, or fresh herbs to taste.
My consistent favorites are either sour cream alone or sour cream with a topping of fried pork cracklings (or beacon) and onions.
Recipe Tips
How to store
- Cooked vareniki. They can be stored in an airtight container in the refrigerator for 3-5 days. You can reheat them in the microwave or fry them in a pan with butter until golden brown.
- Frozen vareniki. They can be frozen immediately after shaping. To do this, arrange the raw dumplings on a surface dusted with flour or lined with cling film (a board or a shallow baking dish) and place in the freezer until completely frozen. This will take about 2 hours. After that, transfer the semi-finished product to a zip-lock bag and store for up to 3 months.
- Freshly shaped vareniki. Raw dumplings can be stored on a floured surface, covered with cling film or a clean towel to prevent drying out, for 2-3 hours. They can be stored in the refrigerator for no more than 1 day. With longer storage, the filling may start to spoil, and the dough will lose its elasticity, becoming watery and sticky.
Tips
For the filling:
- Choose potato varieties with high starch content. These cook well and give the mashed potatoes a creamy, fluffy, and tender texture. Such varieties include: Russet, Yukon Gold, Maris Piper, Idaho, King Edward.
- Never use a blender to mash the potatoes; it turns them into glue.
- You can use leftover mashed potatoes.
- If you don't like onions, you can omit them.
- You can add fried mushrooms, cottage cheese, fried bacon, sauerkraut, spices, dill, or fried carrots to the filling.
- It's best to salt the potatoes for mashing midway through cooking, as salt compacts their structure. This way, the potatoes absorb enough salt but remain softer and more tender. The exception is potato varieties that break down significantly during cooking; these are best salted at the very beginning.
- You can bake potatoes in their skins on salt, then peel and press them through a potato ricer. This gives them a more intense flavor.
- Make sure the onions don't burn. Burnt onions will give a bitter taste.
For shaping:
- If you're making vareniki for the first time, start with a small amount of filling. This will make the edges wider and easier to seal.
- I don't recommend rolling out too many pieces of dough at once, as they may dry out.
- It's better to place the filling on the side that was lying on the table, as it hasn't dried out.
- The edges of the dough should be clean; otherwise, they won't seal tightly and may fall apart during cooking.
- Make sure the edges of the varenik are securely sealed, or the potato filling will end up in the pot during cooking.
- If your dough is stiff or the edges have dried out, you can slightly moisten them with water. You can do this with a pastry brush or your finger. Moisten only one edge on the inside.
- The thickness of the dough also affects the taste of the finished vareniki. This depends on the consistency and type of dough. I prepare quite firm dough and roll it out to a thickness of 1/16 to 1/8 inch (1-2 mm). If you knead softer dough, you can roll it out to a thickness of 1/16 to 1/8 inch (2-4 mm). This is especially relevant when dealing with scalded dough or dough kneaded with kefir, sour cream, or cold water.
For cooking:
- Salt the water as you would for cooking pasta.
- It's best to stir the vareniki with a silicone spatula or a wooden spoon with blunt edges to avoid damaging the wrapper and prevent tearing.
- If the vareniki have puffed up, you need to lower the temperature or remove them from the water, otherwise they may come apart.
- Vareniki can be steamed.
- If you're not serving hot vareniki immediately, you need to stir them from time to time to prevent them from sticking together.
Leave a Comment